How To Use The UK's Online Heat Transfer Uploading System
How To Use The UK's Online Heat Transfer Uploading System
This blog is a step by step tutorial on how to use the Stahls' UK Heat Transfer Uploading System called EasyView.
First up, how do you access the design uploader?
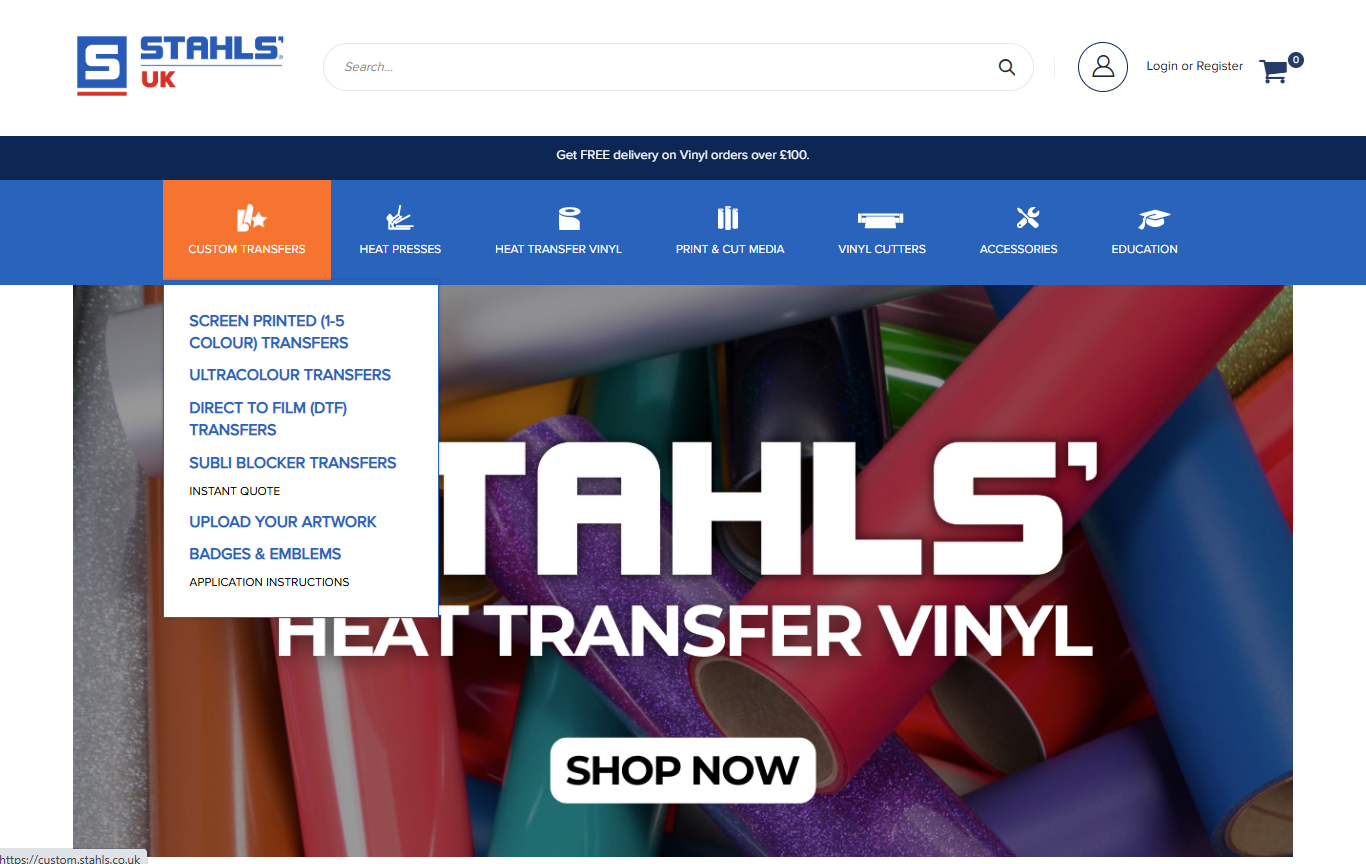
If you access it through Stahls.co.uk, you will need to use the first drop-down on the navigation menu which will take you to the Stahls' UK Heat Transfer website.
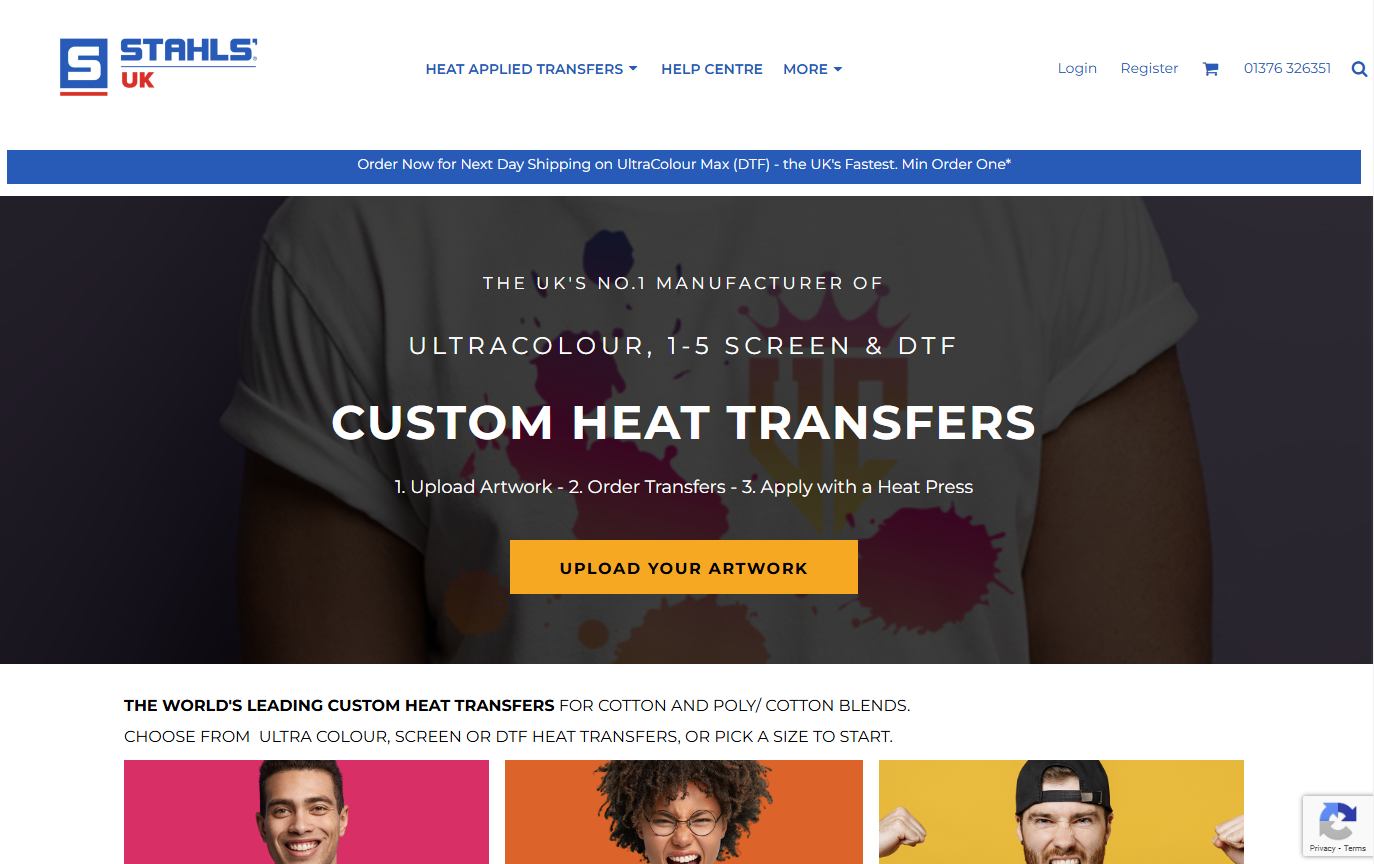
Otherwise, you can access it by simply typing it into your browser, in which case the website looks like the left image below.
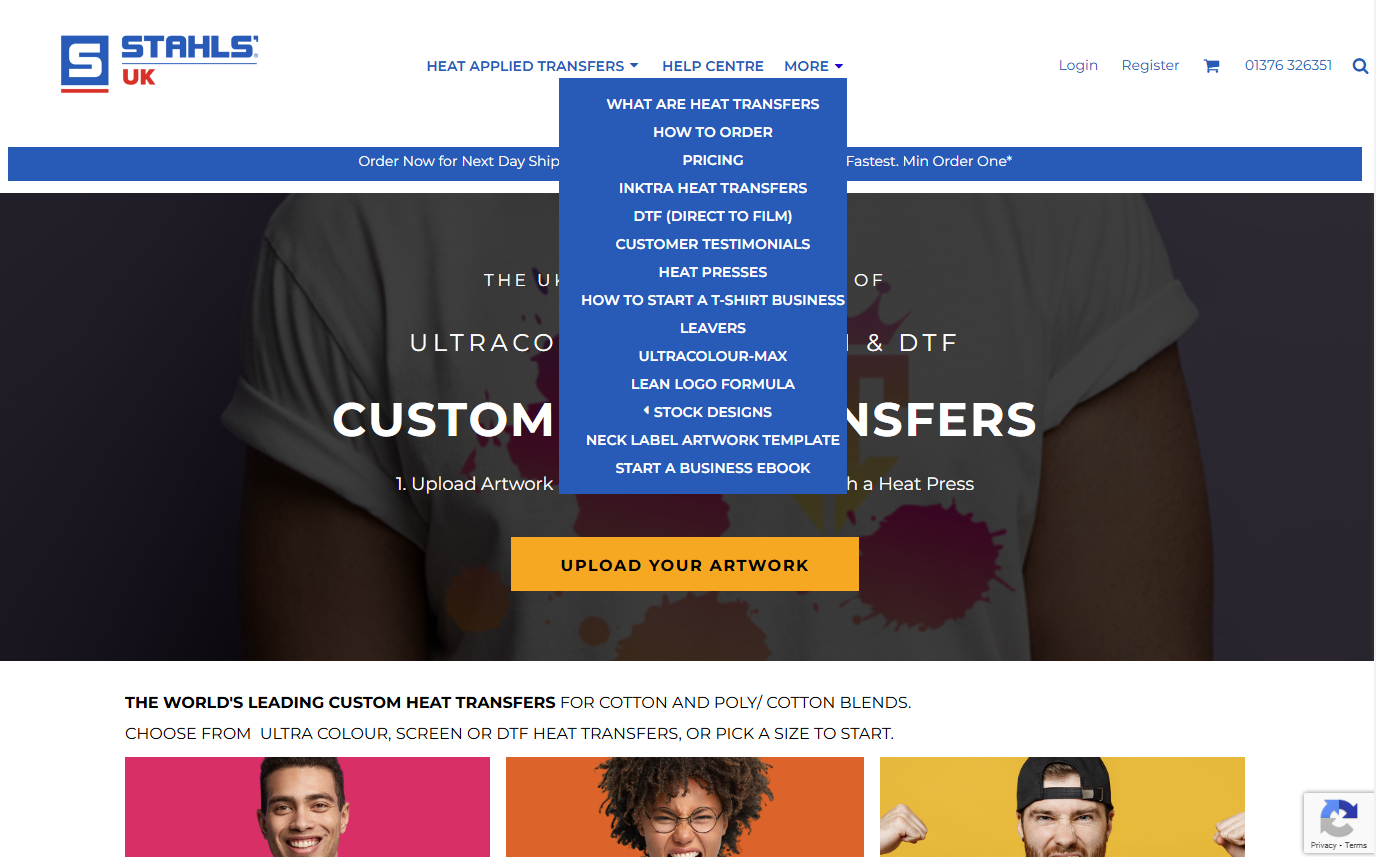
Once you are on the website, pay special attention to the navigation bar. Here you will find access to the Heat Transfer section, the Help Centre and other useful pages such as Free template download pages. If you want to learn more about artwork requirements, minimum orders, payment types and other FAQ's, please head to the help centre section.
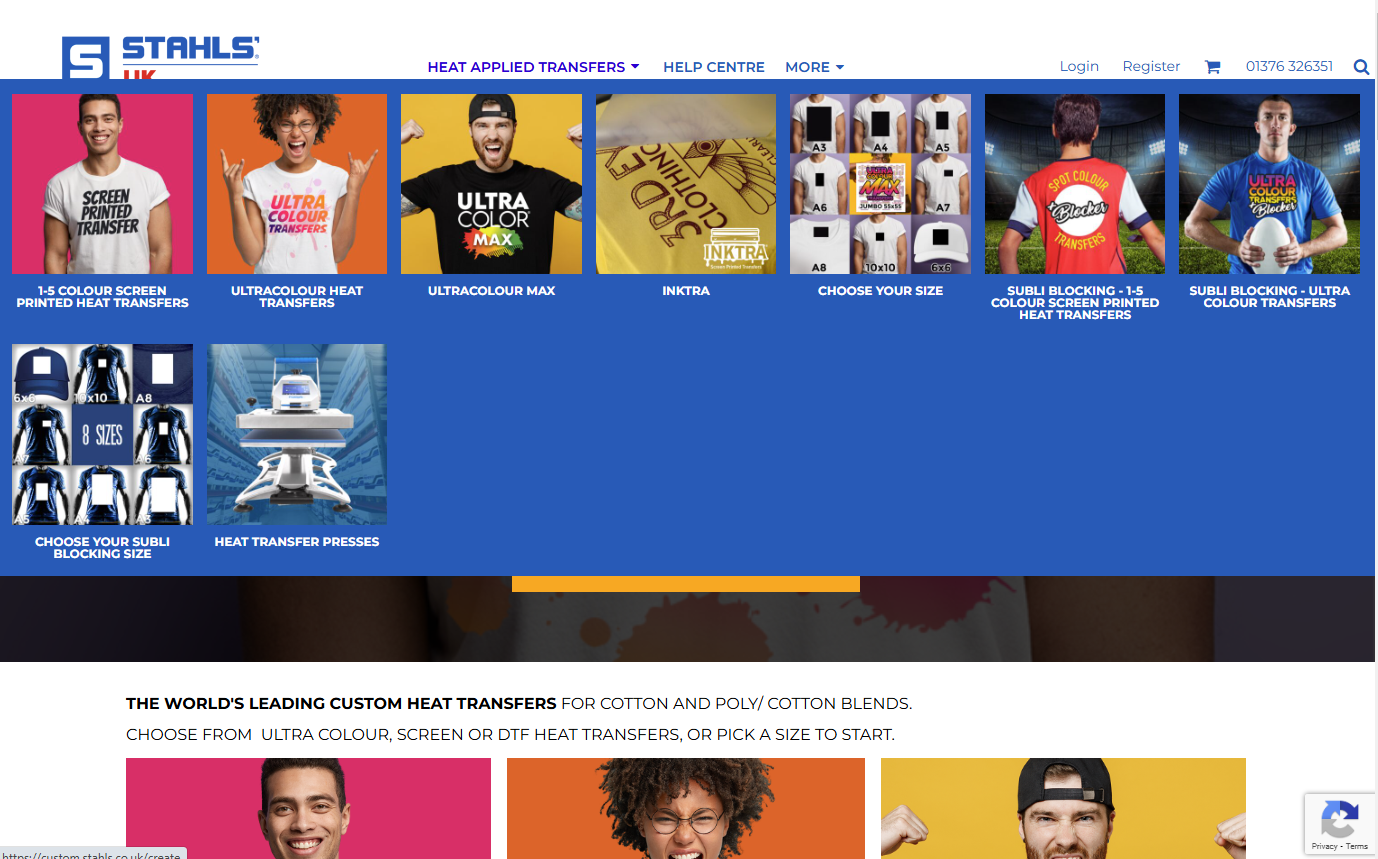
To place your heat transfer order you will need to hover over the 'Heat Applied Transfers' tab. Here you will see a drop-down menu of all the heat-applied transfers that you can order on this website.
Today we will demonstrate using UltraColour Heat Transfers. These transfers are a full colour transfer type which can support digital gradients, jpegs, pngs, and are a minimum order of 10. This heat transfer type is also the most economical choice for your business when working in large quantities. It's also the lowest fusing temperature heat transfer on the market if you are working with heat sensitive garments.
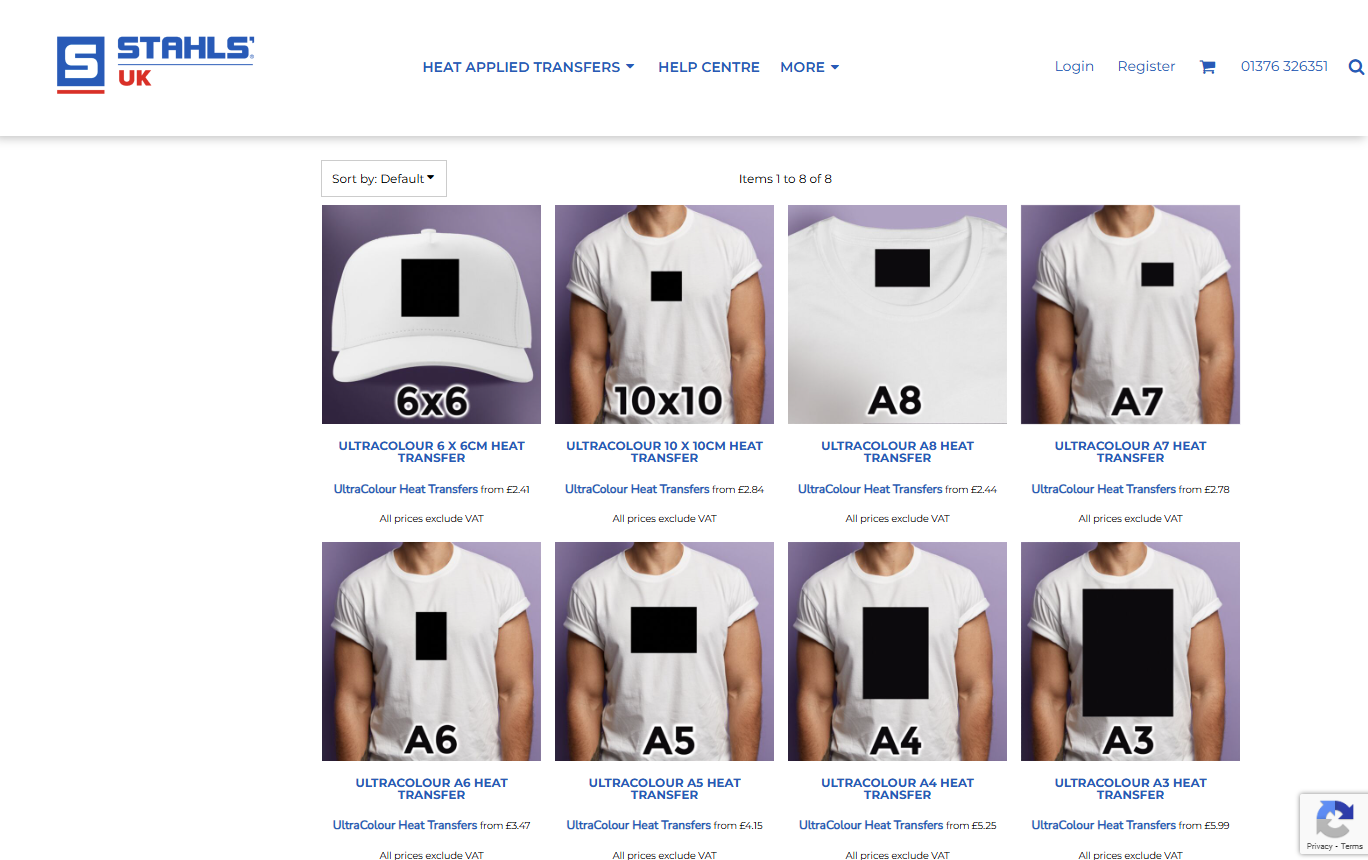
Once your heat transfer type has been selected, it will take you to a page with a run through of the heat transfer's qualities and if you scroll a little further you will find the size listings for this heat transfer type. Each heat transfer type offers different sizes so if you have chosen a type of heat transfer and don't see a size that is big or small enough, have a browse through the other heat transfer types and see if you can find what you need there.
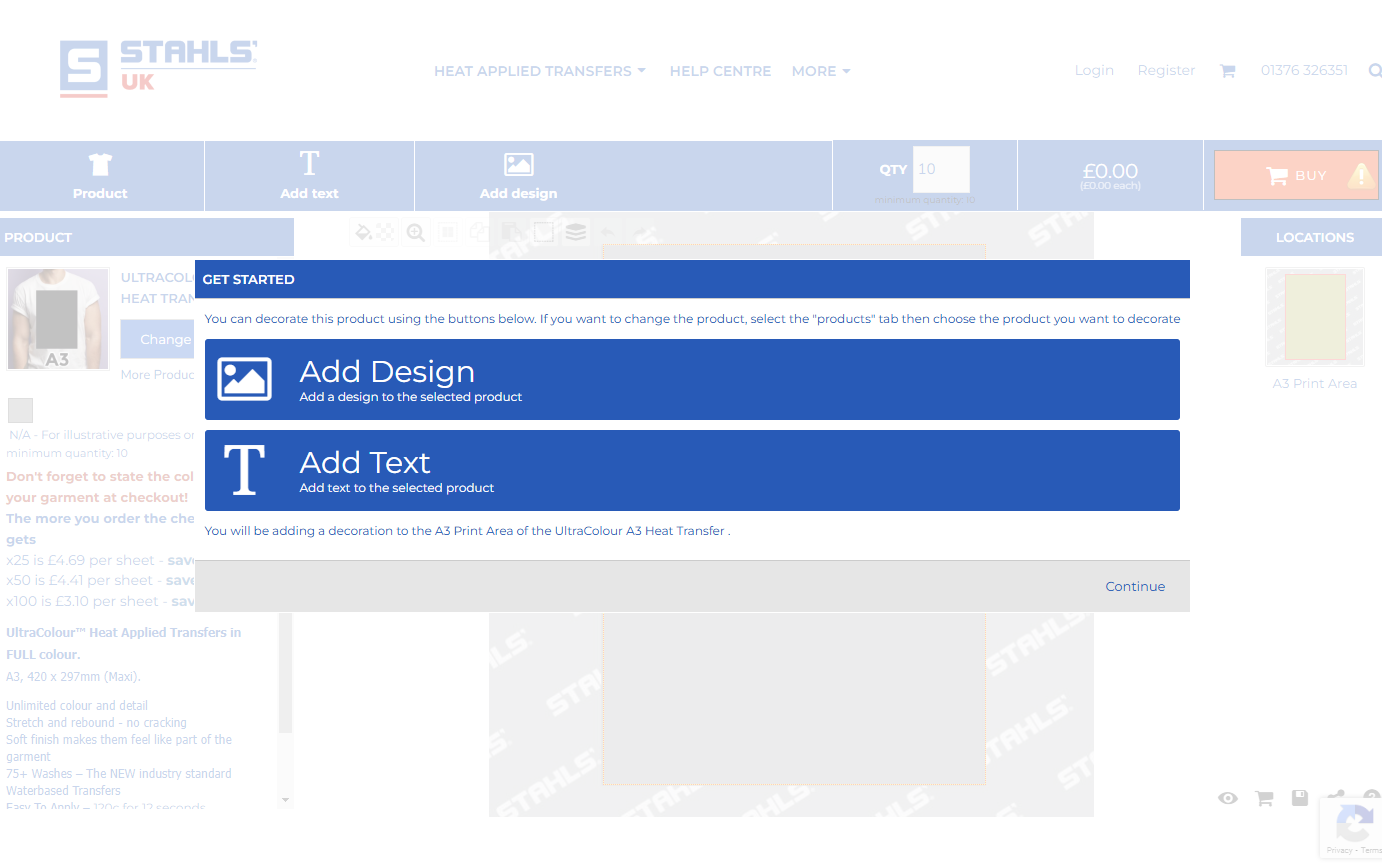
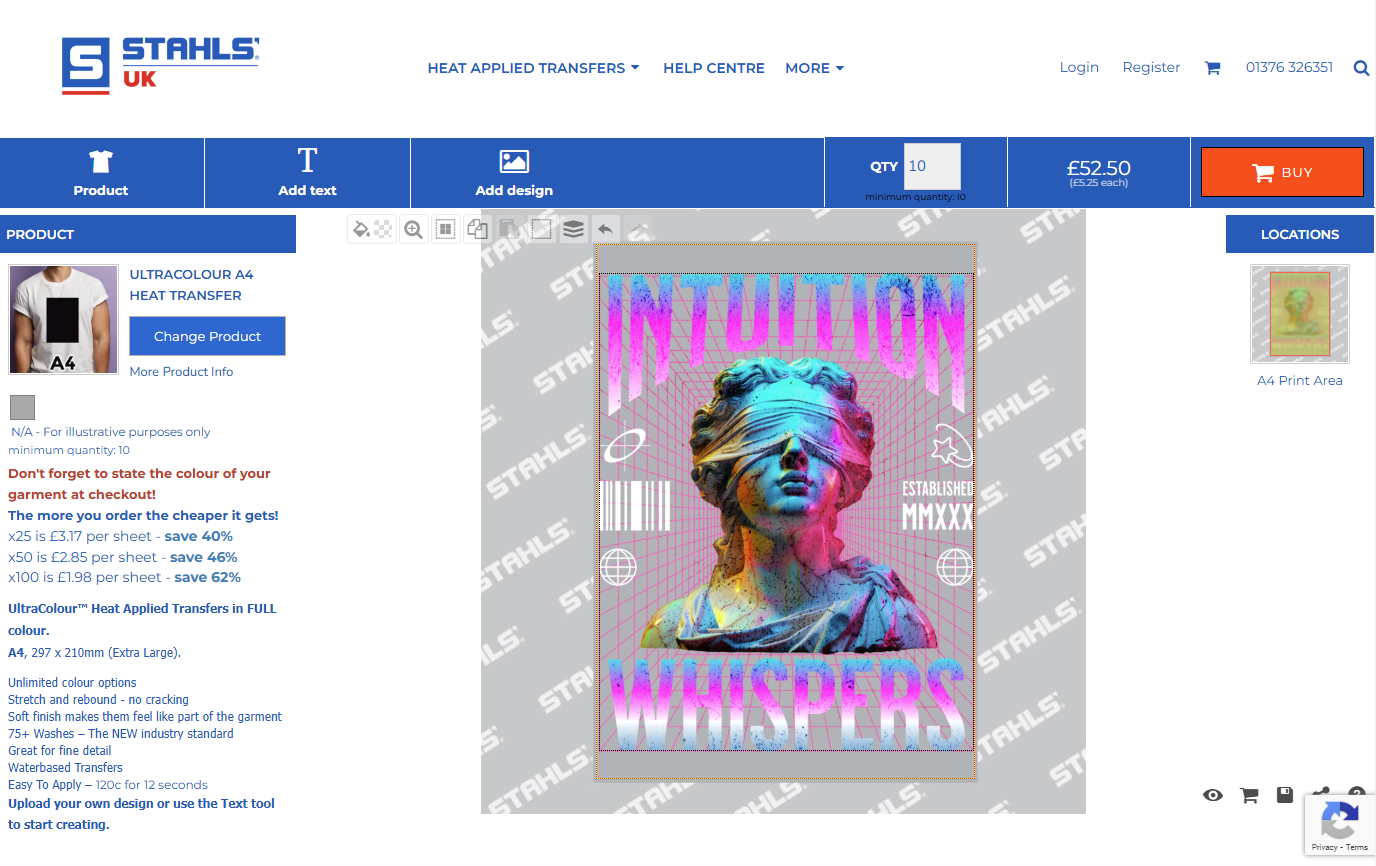
Once you have selected your size, you'll be taken through to the uploading platform called EasyView. You will immediately be given two options: Add Design and Add Text.
The Add Design button will take you to our free stock design library and give you the option to upload your own design.
The Add Text button will take you to our free text creation tool.
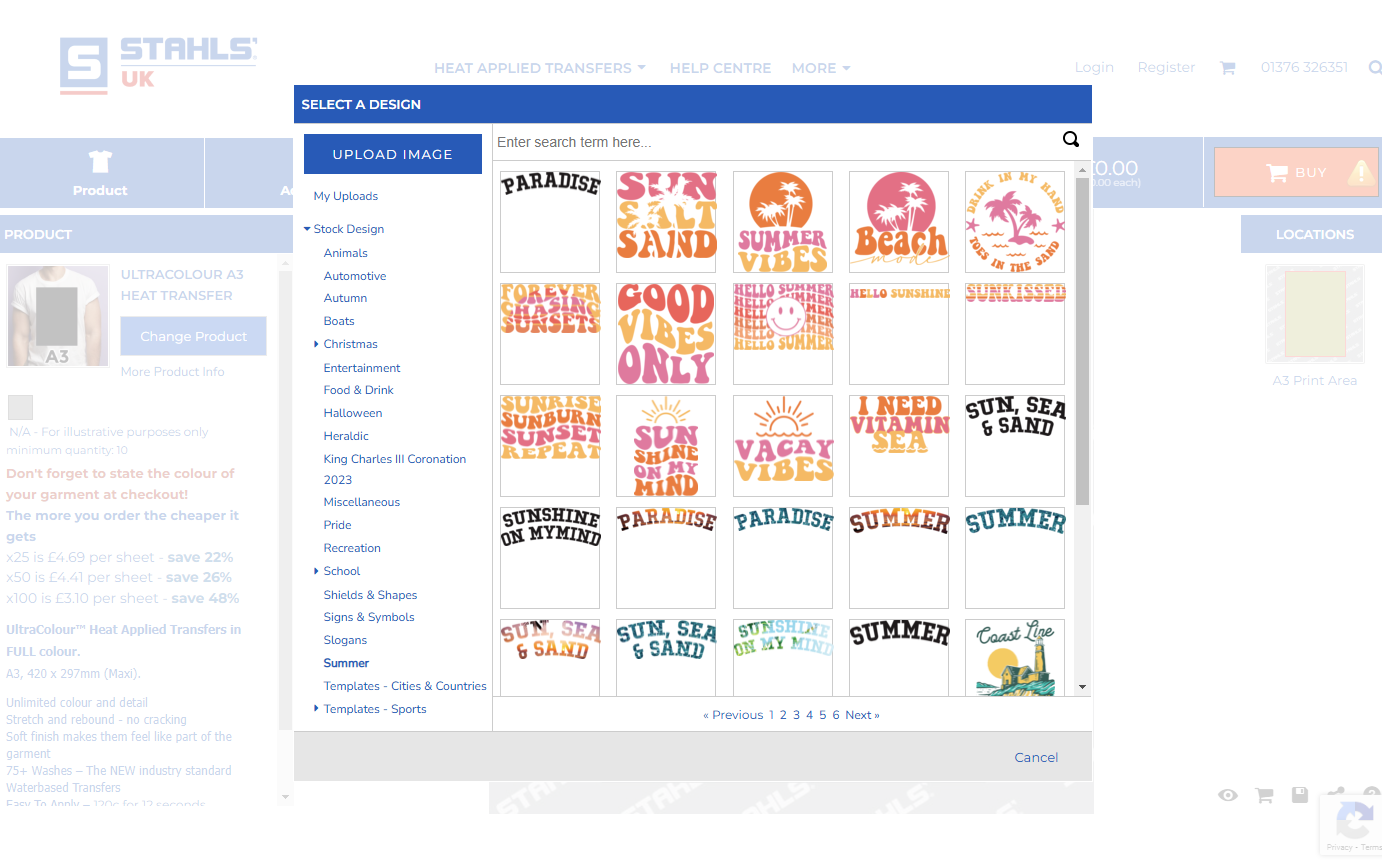
Add Design - Below you can see our free stock design library. This is regularly updated with new designs that customers are free to use through EasyView. Some have customisable text and colour options so you can create a design that fits your brand or garment specifications. The menu down the left indicates lots of different genres of designs. Just click each genre to browse through the library.
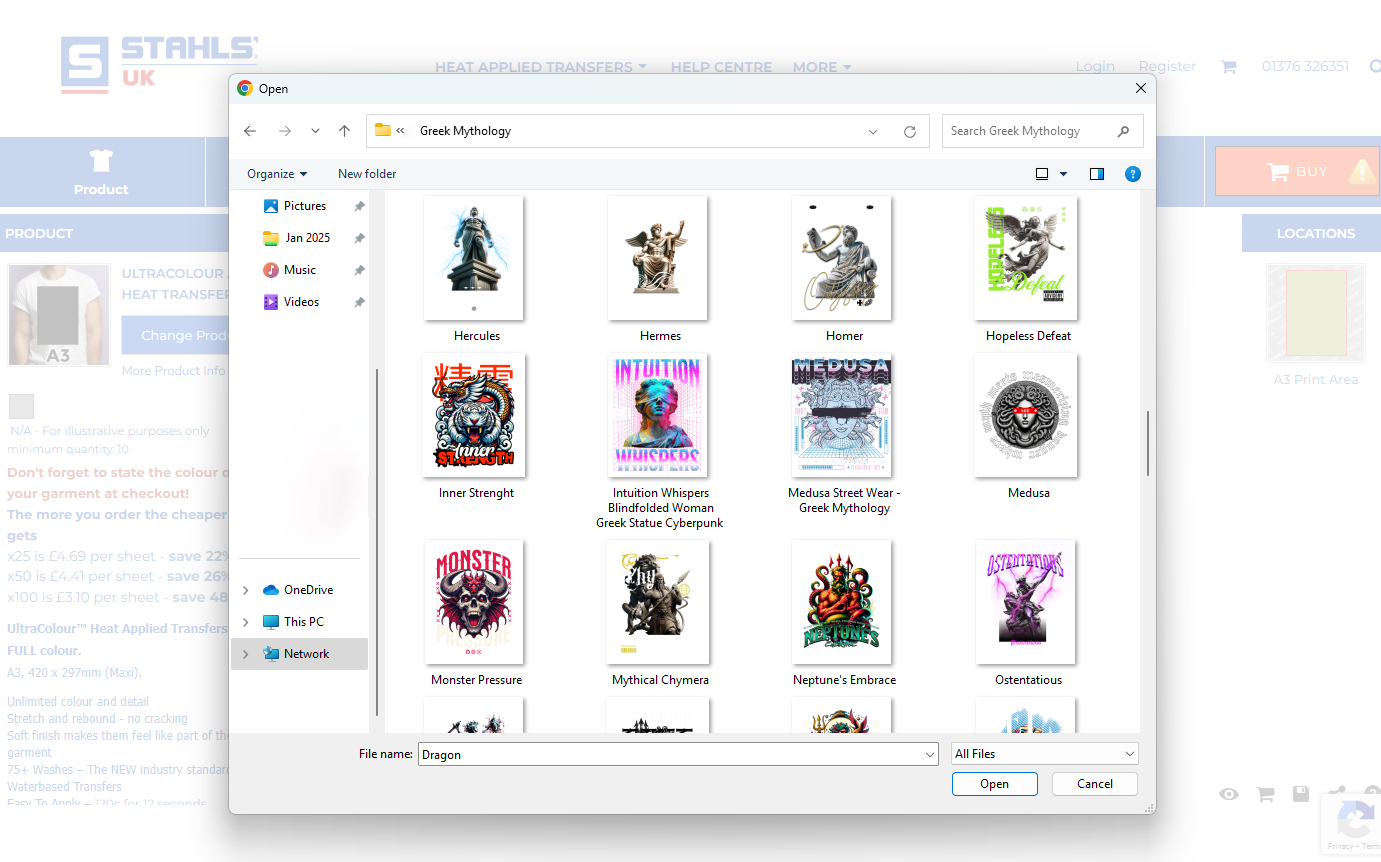
If you'd prefer to upload your own design, click the Upload Image button.
By clicking the Upload Image button, a computer or phone browser will appear where you can navigate through your files to find the correct design to upload.
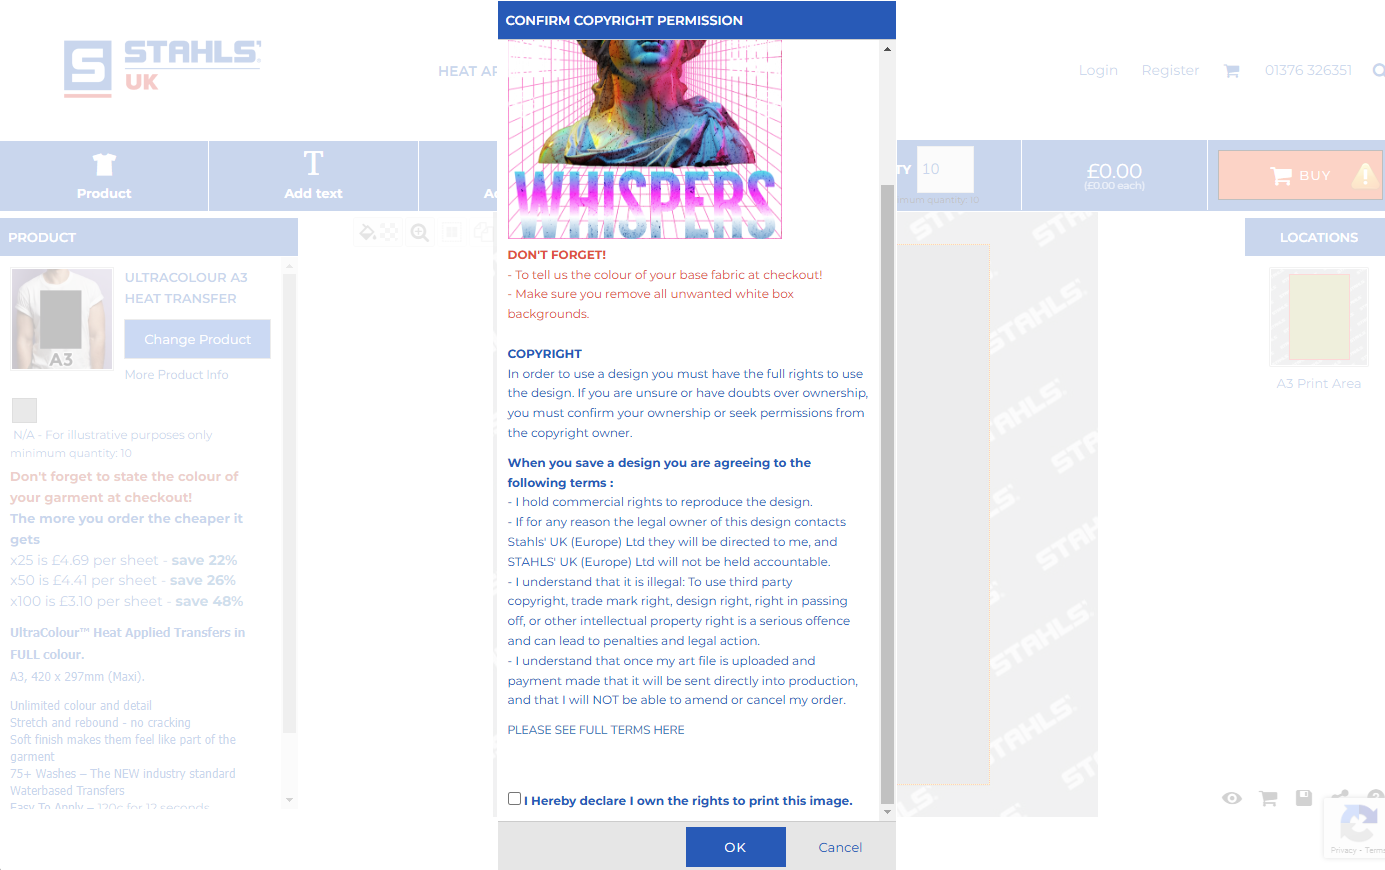
After selecting your design, it may take a short while to upload to our system depending on its size. After it has uploaded an information box will appear. Here it offers tips that will help our artists offer you the highest quality and fastest production process possible:
- Tell us the colour of your base fabric at checkout using the Order Notes section. This is so that if any outlines need thickening slightly, we know how to do this in the most discreet way for you by matching your garment colour. We also ask for this information in case there are any errors with your artwork like backgrounds being left on.
- Make sure you remove all unwanted white box backgrounds. Everything you see on your transfer sheet in front of you while uploading will appear on your heat transfer in person. So if your design has a white page background behind it then your heat transfer will too.
You also must accept the copyright usage permissions to the design you are uploading. It is illegal to use third party copyrighted or trademarked designs without proper permission or licencing.
Your design will upload as it's creation size. This means that if it was created to be 20x20cm, it will upload to scale.
Once uploaded, you can resize/alter your design, change your sheet layout and much more which will will explore below.
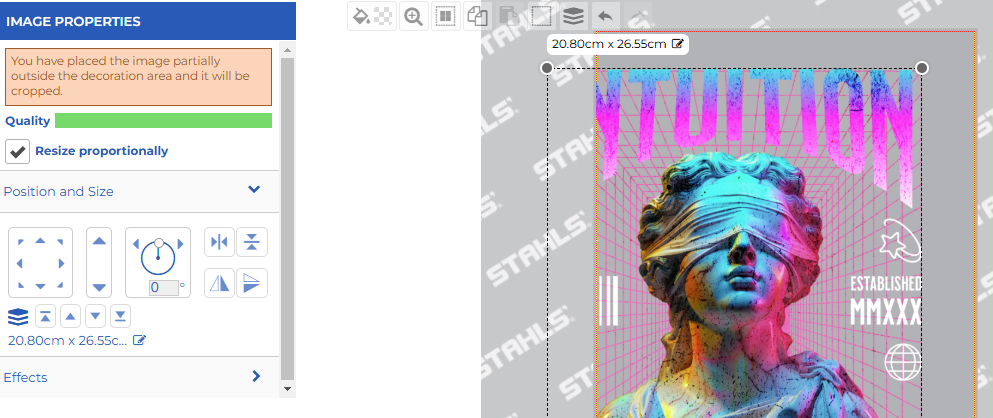
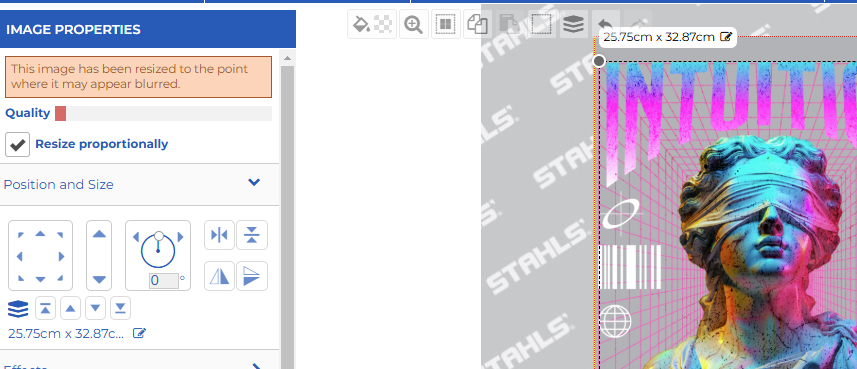
EasyView is programmed to make your uploading and ordering process as seamless as possible. It has built-in features that will detect if there could be an issue with your design. This is so that you can rectify them before ordering instead of accidentally ordering an incorrect design. This saves you time and money in the long run.
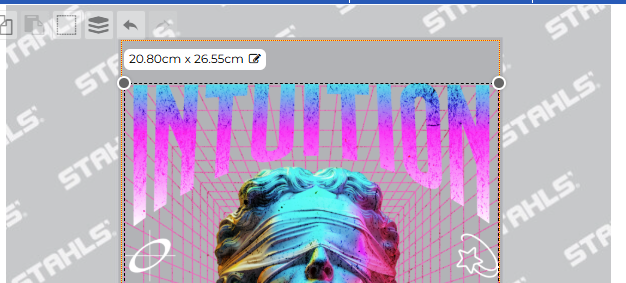
'This image has been resized to the point where it may appear blurred'
This is an image quality warning that will appear if you have resized your image past its created and intended size. It will also appear if you have uploaded a design that is too low quality to print. Please ensure your designs are correctly sized and created at 300-600dpi for the best quality image.
Below are a couple of features you can use to customise your heat transfer sheet:
The Tool Bar
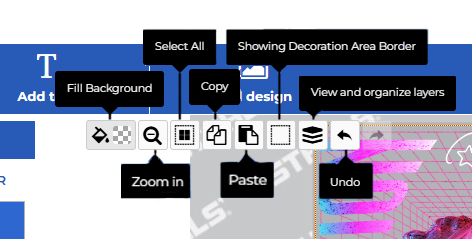
Hovering over your heat transfer sheet, you will find a greyed-out toolbar consisting of 7 different tools. When you hover over each tool, it will become clearer to see.
Here you can use the following tools:
Fill Background - this changes your sheet background colour. This is so you can mimic your garment colour and check that your design looks correct on it. This colour will not be printed on your final design.
Zoom In - This zooms in for a clearer view of your sheet
Select All - Use this to select all the designs on your sheet.
Copy - You can copy a design by selecting it and then clicking this button.
Paste - Use this button after Copying. This will duplicate the selected design.
Showing Decoration Area Border - Toggling this on and off will add and remove the yellow temporary artwork border we have placed along the edge of every size of heat transfer. When this is toggled on, you will see a warning if any of your designs are placed outside of that area and are at risk of being cut off the sheet.
View and Organize layers - This helps you see your designs in a stacked formation.
Undo - Clicking this will undo your last action.
Once your first design is placed, it's time to create your gang sheet.
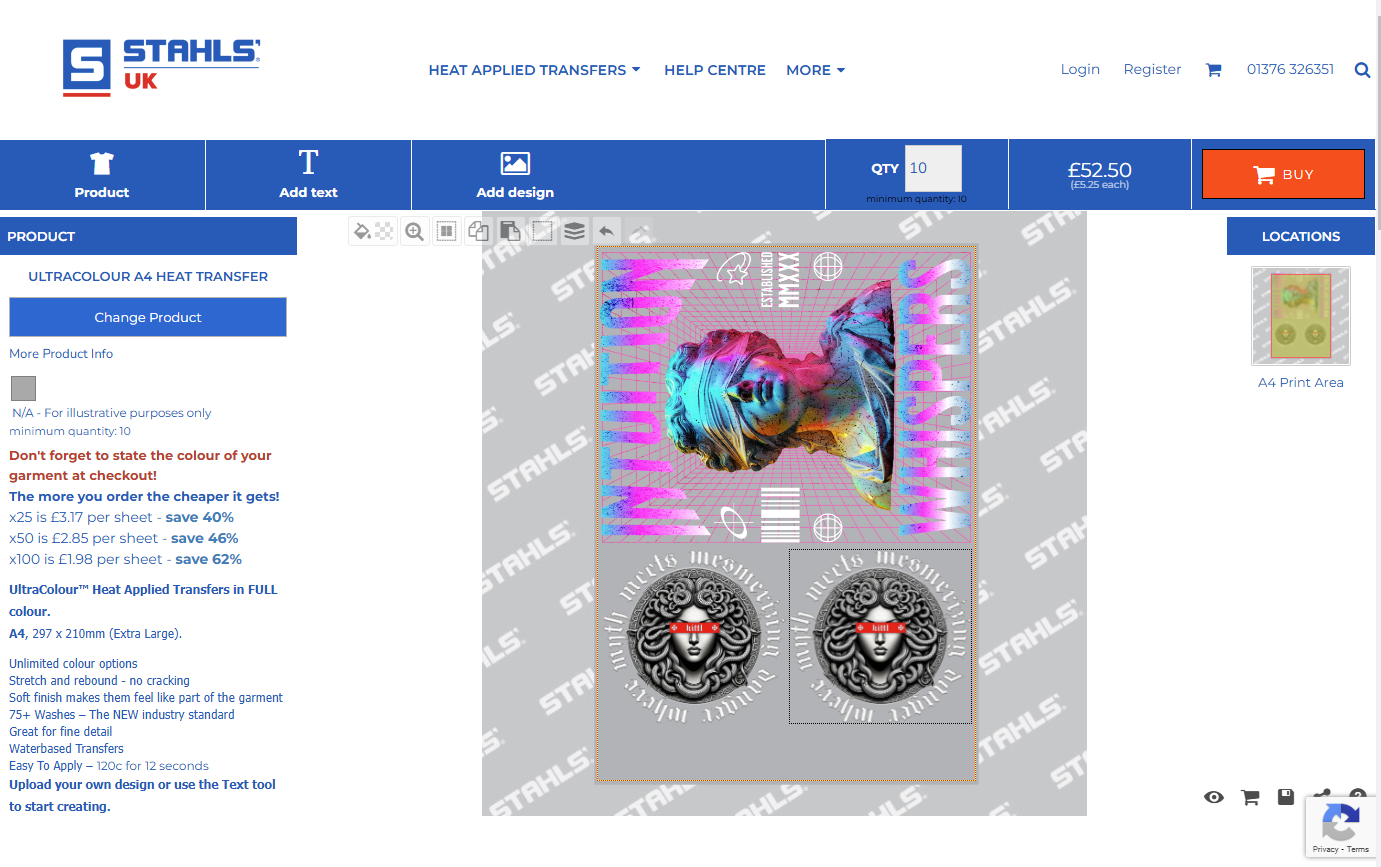
If you don't know what a gang sheet is, this is when multiple designs are uploaded to the same sheet. Stahls' heat transfers are charged by the sheet and not per design. This means if you have leftover sheet space, you may as well fill it with other designs to get your money's worth.
Can I order just one transfer per sheet? Yes. You can indeed. However, our sheets are priced so that you get the best pricing the more you order. So if you're looking for 2x A4 designs at the best price, upload them to an A3 sheet and you will find that your pricing per design works out cheaper than ordering 2x A4 sheet designs.
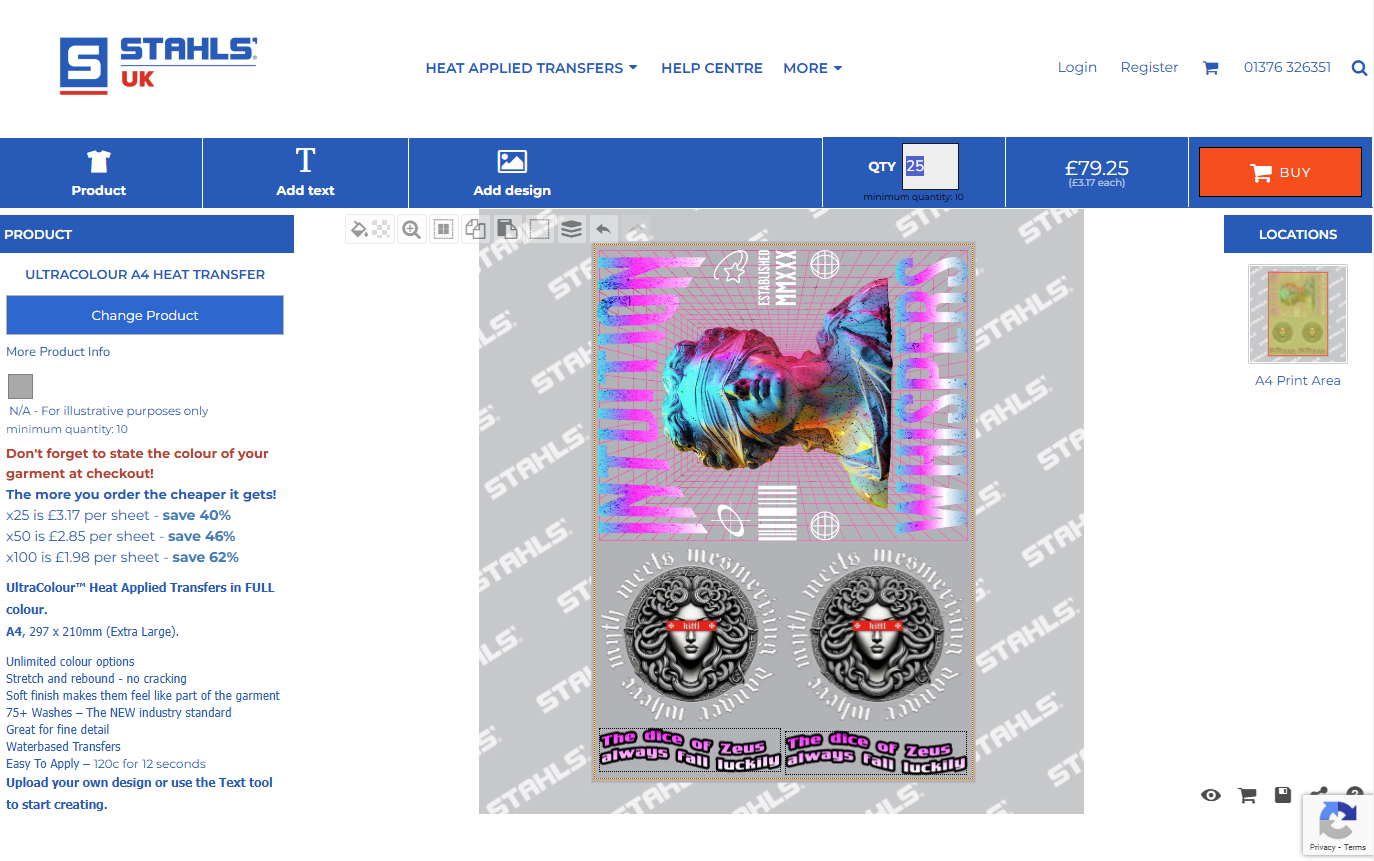
In the example below, we have uploaded an A4 design and 2x small 10x10cm designs, but we still have some sheet space left at the bottom.
Text Creation:
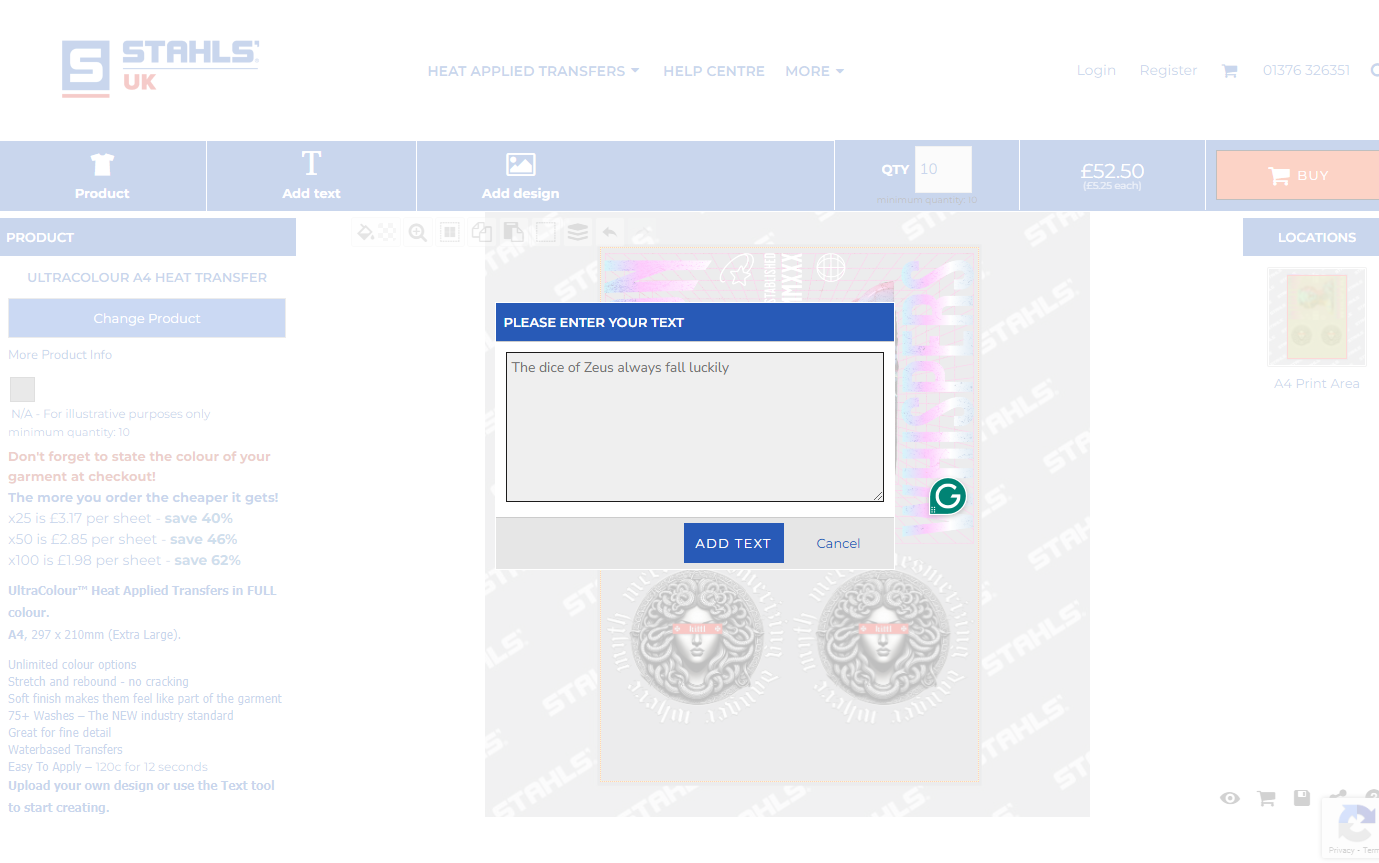
Along the top navigation banner, you will see the Add Text function. After clicking this, you'll be prompted to enter your text and click the Add Text button.
EasyView will create your text in a standard colour and standard font and place it in the middle of your sheet. Now it's time to customize your text.
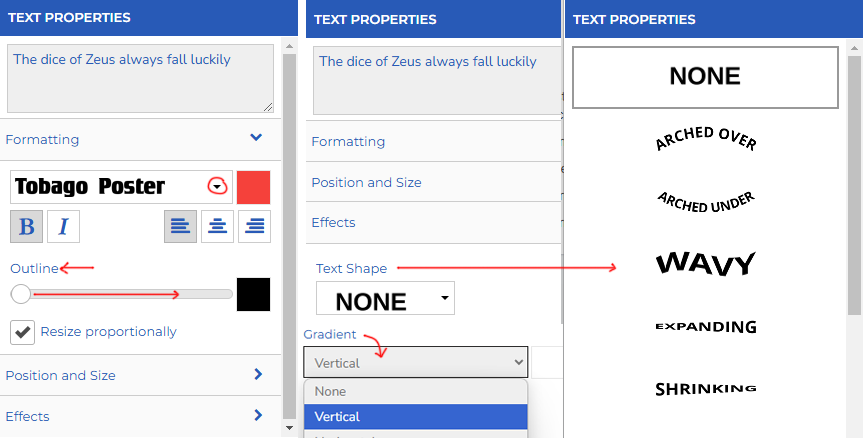
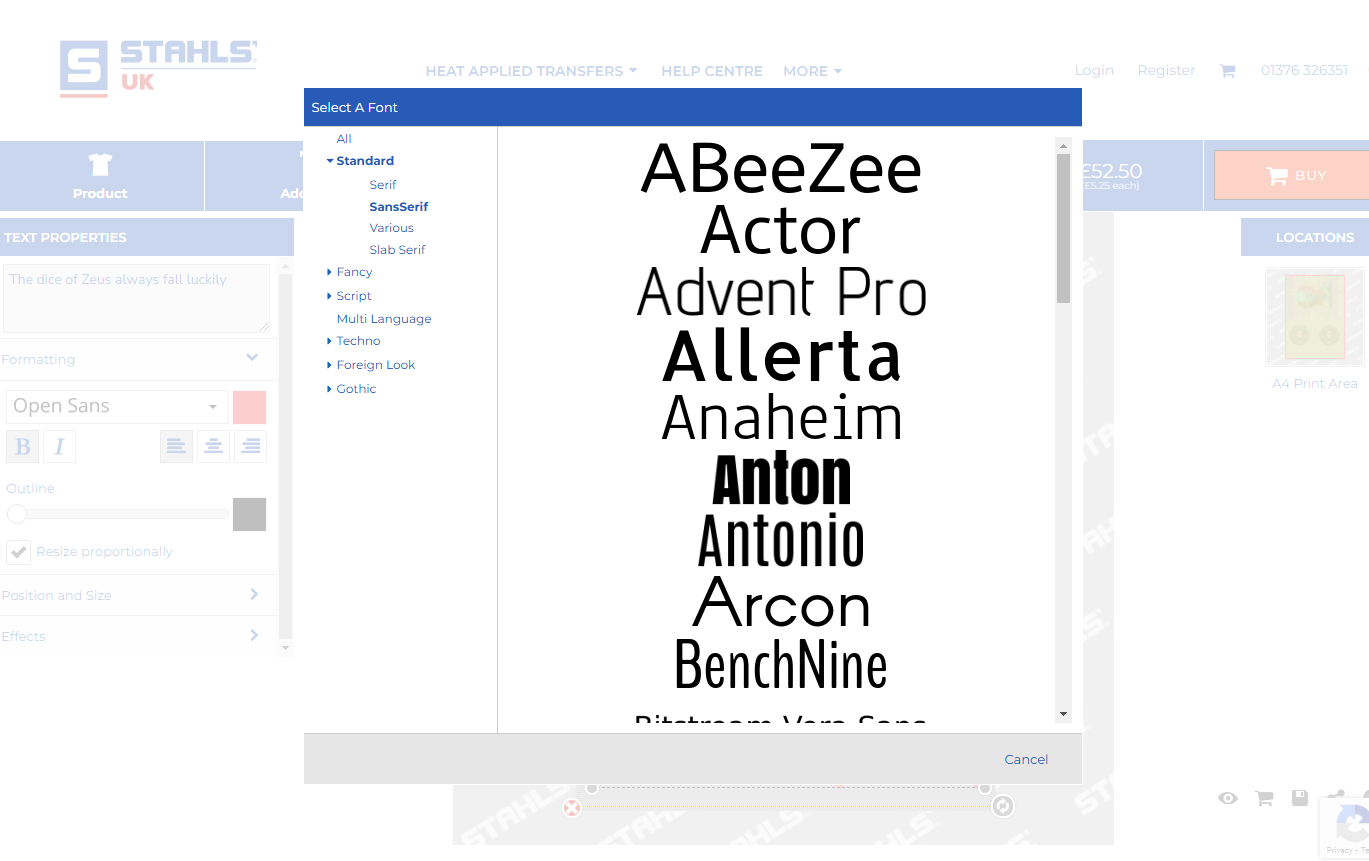
Using the menu on the left-hand side you can choose from a number of different fonts, select any colour and utilise other tools to change your text.
Full feature list:
- Font Selection
- Colour Selection
- Bolding or Italics
- Outline size
- Outline Colour
- Text Shaping - Arched, Wavy, Expanding, Shrinking, Fish Eye, Squeeze, Bridge, Half Bridge, Ramp, Perspective
- Colour Gradients - Vertical or Horizontal.
We chose a matching pink colour to our main a4 design, added a bold outline, changed the shape to wavy and added a gradient to our text. We have duplicated it to fill our full sheet space.
Once you are happy with your sheet layout, all thats left to do is to select your sheet quantity and click the buy button.
The handy list on the left-hand side of the uploader explains that we offer specific quantities at particularly appealing prices, but if you need a specific number of sheets outside these figures, simply type your quantity into the box on the navigation bar to get a live price right there and then.
Please note, by typing 10 into the quantity box, you will receive 10 of the same sheet.
Got it? Great! Time to give it a go and place your order!
If not, don't worry. Check out the below youtube video to see a real time run through of everything you've just read.


