How To Create An Embroidery Effect Heat Transfer Design
How To Create An Embroidery Effect Heat Transfer Design
After the recent success of our Instagram Reel tutorial on the Parametric filters section in Photoshop, Stahls' now bring you the blog format tutorial!
Faux textures exploded across retail last year and continue to rise in popularity throughout 2025. Seen in retail and professional sportswear, heat printers are turning away from traditional garment decoration methods and towards the newest heat printing technology. But why?
Embroidery machines are large and expensive. Not only that, but they are noisy and they take a long time to complete their stitching and that's without taking into consideration the training needed to set up, run and maintain one. So how can you achieve a similar effect without the time, effort, cost and noise?
These specific heat transfers offer photo-realistic detail and an unlimited colour palette meaning you can upload digital graphics and receive a like-for-like realistic-looking heat transfer.
So how do you make your designs look like they've been embroidered?
Adobe Photoshop Beta 2025.
Available in Photoshop Beta 2025
To use this software you will need an appropriate Adobe Creative Cloud subscription and no, unfortunately,y this is not a free service. However, once you have successfully set up your subscription, the world of tech is at your fingertips.
To begin creating your fau embroidered designs, you'll need to navigate to the Beta apps section in Creative Cloud and open up Photoshop (Beta) in your desktop,
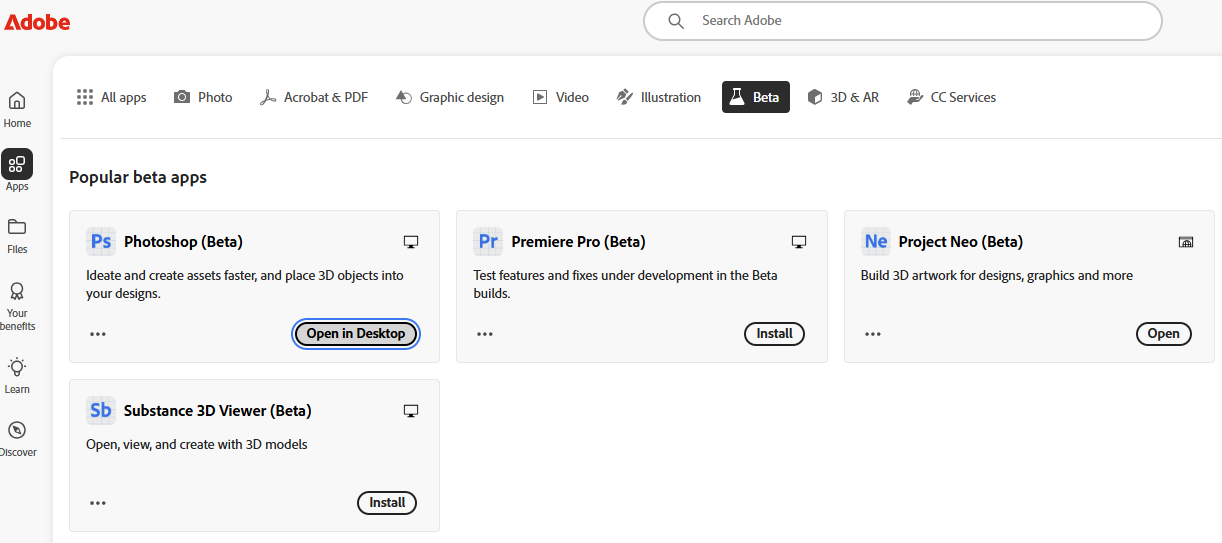
Once this has loaded, go ahead and open up your design.
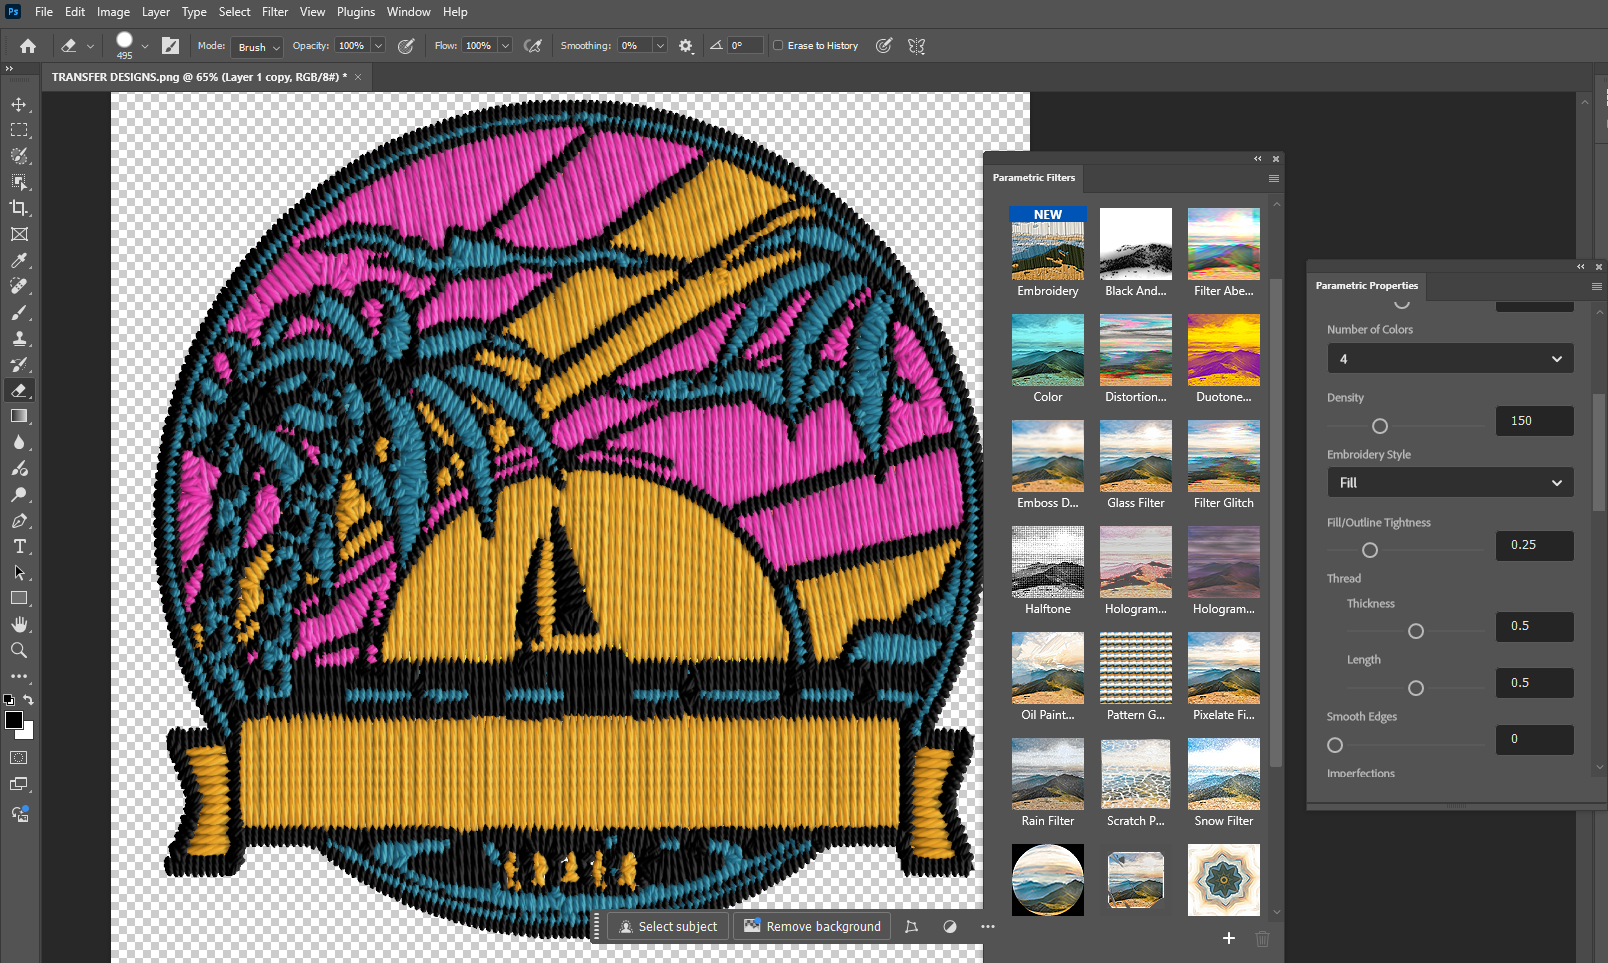
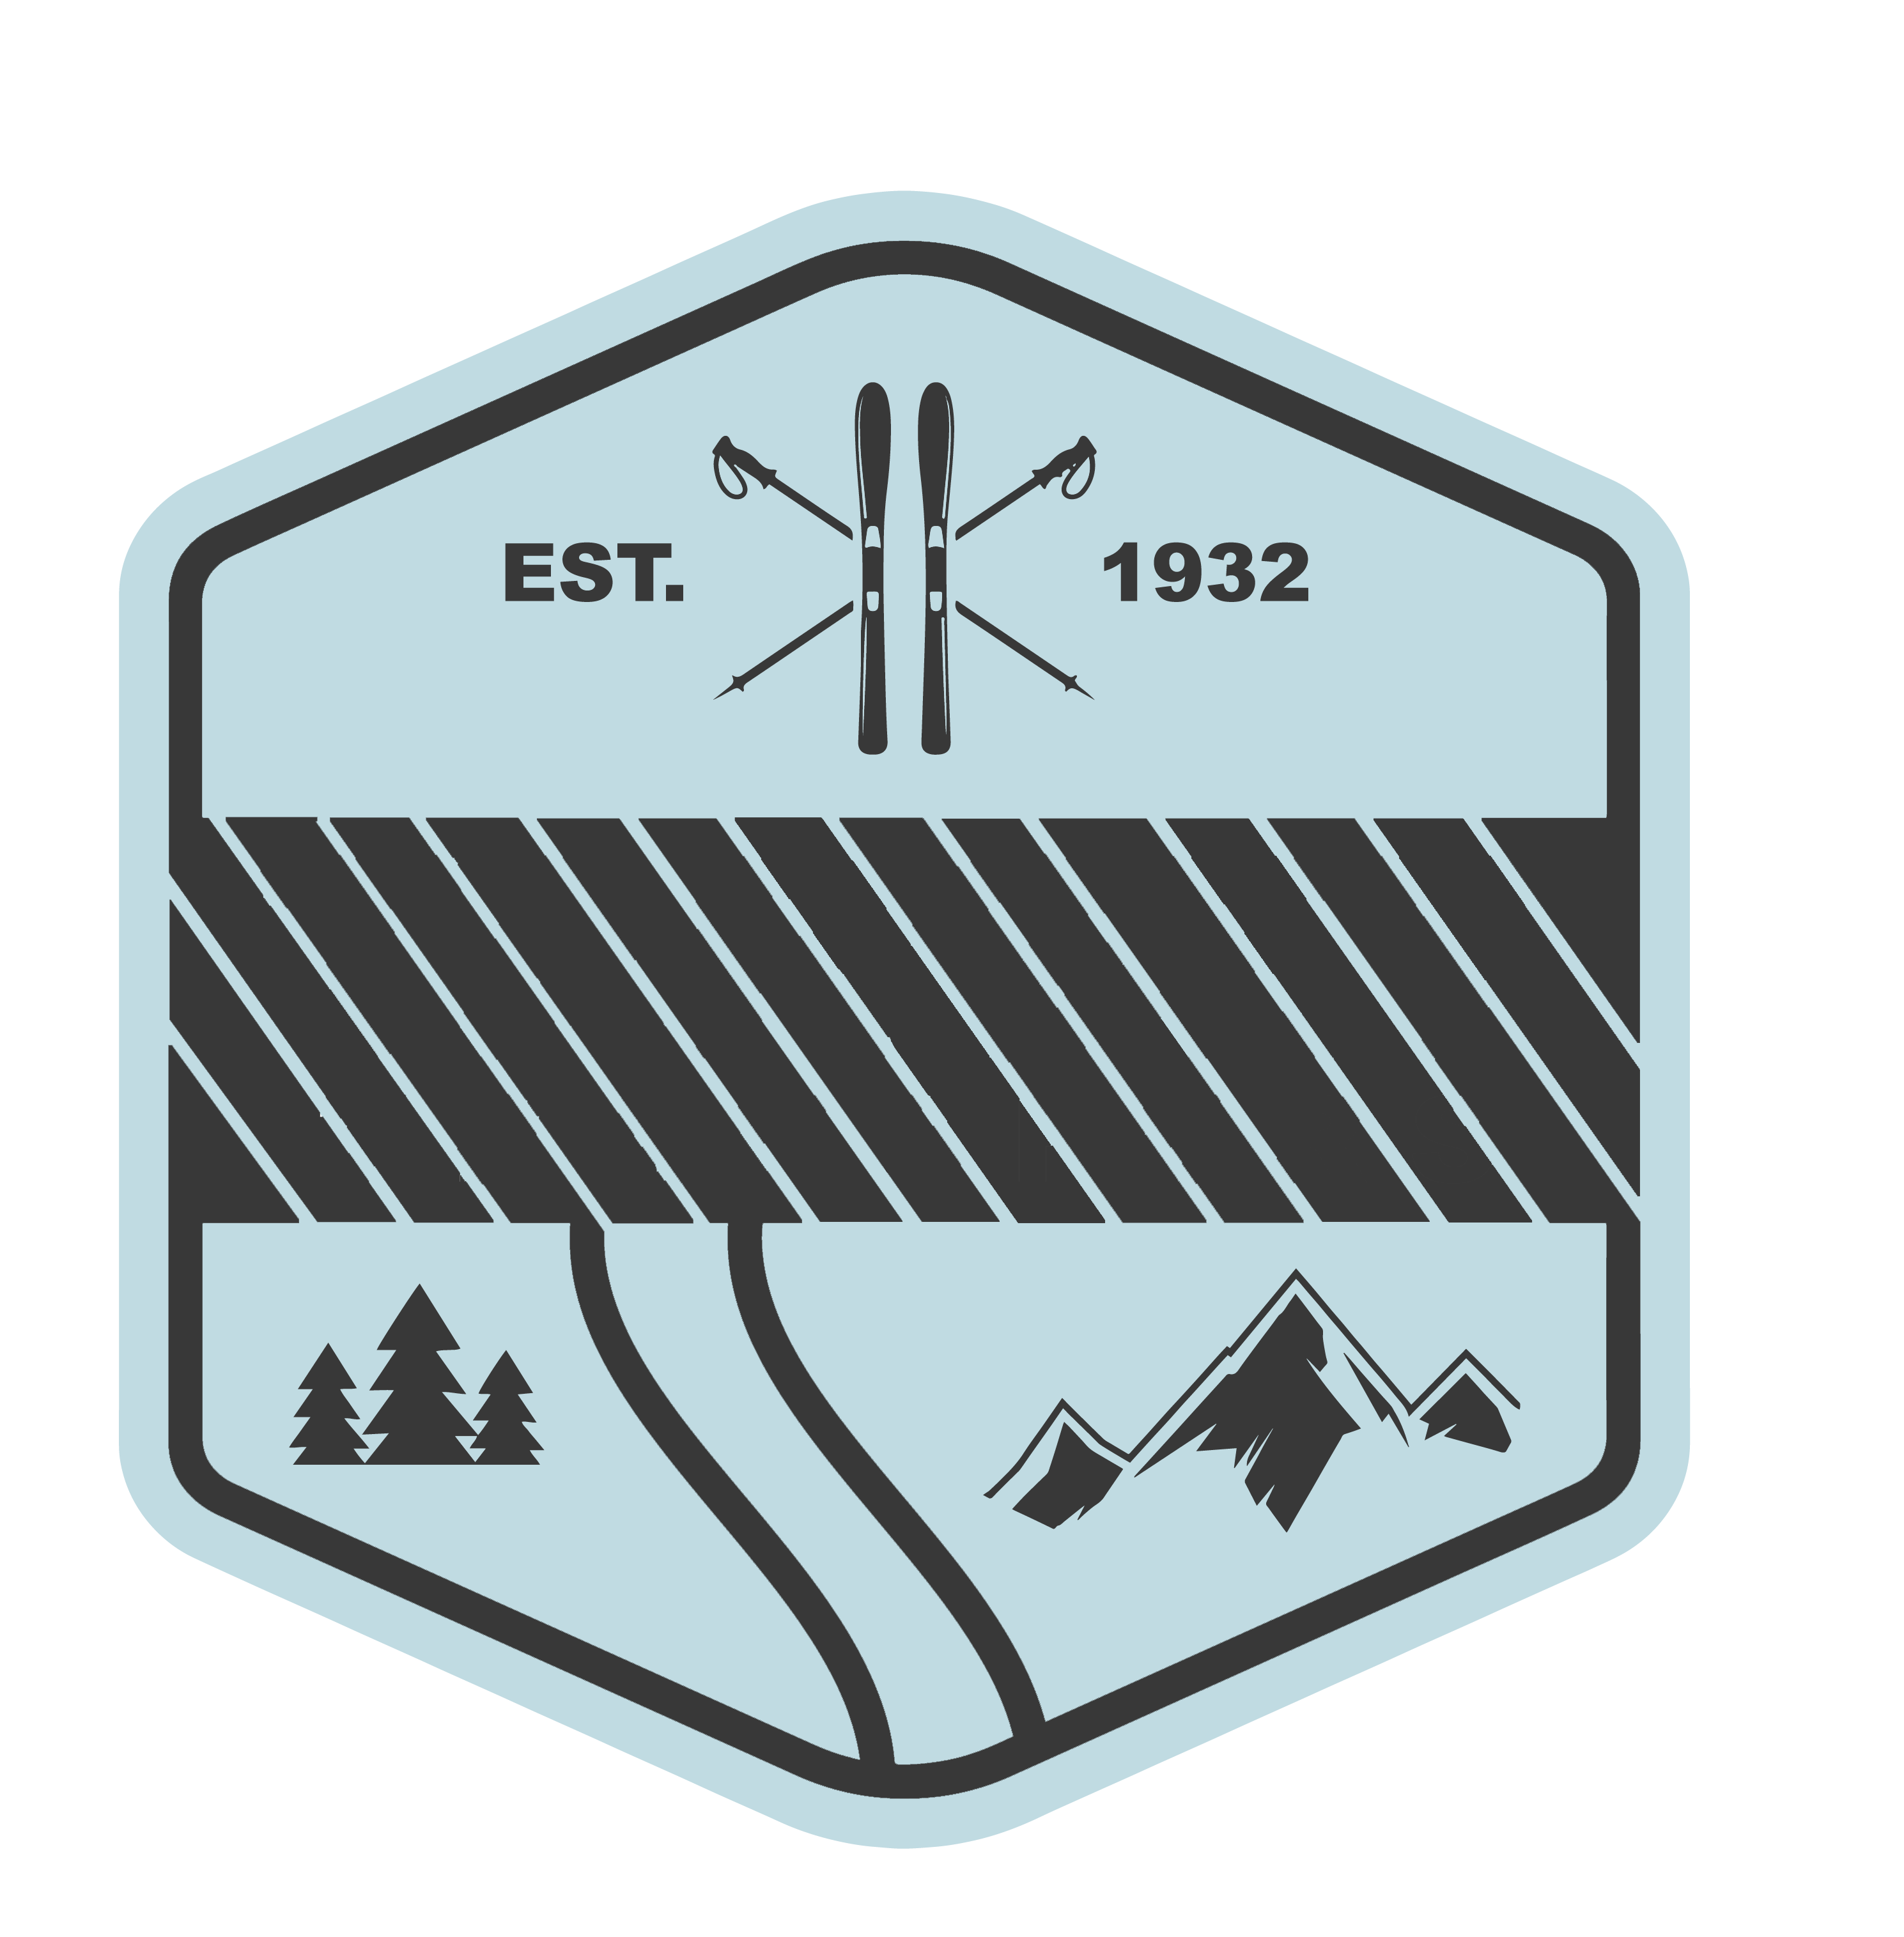
It's worth noting that after some testing, it has become apparent to me that simpler graphics appear the most effective. Be aware of small text becoming distorted and illegible. That being said, we will be using the below design through this tutorial which has significant detail. Ensure that your design has a transparent background. If you use a flattened jpeg with a background, the entire page will appear embroidered once the effect has been applied.
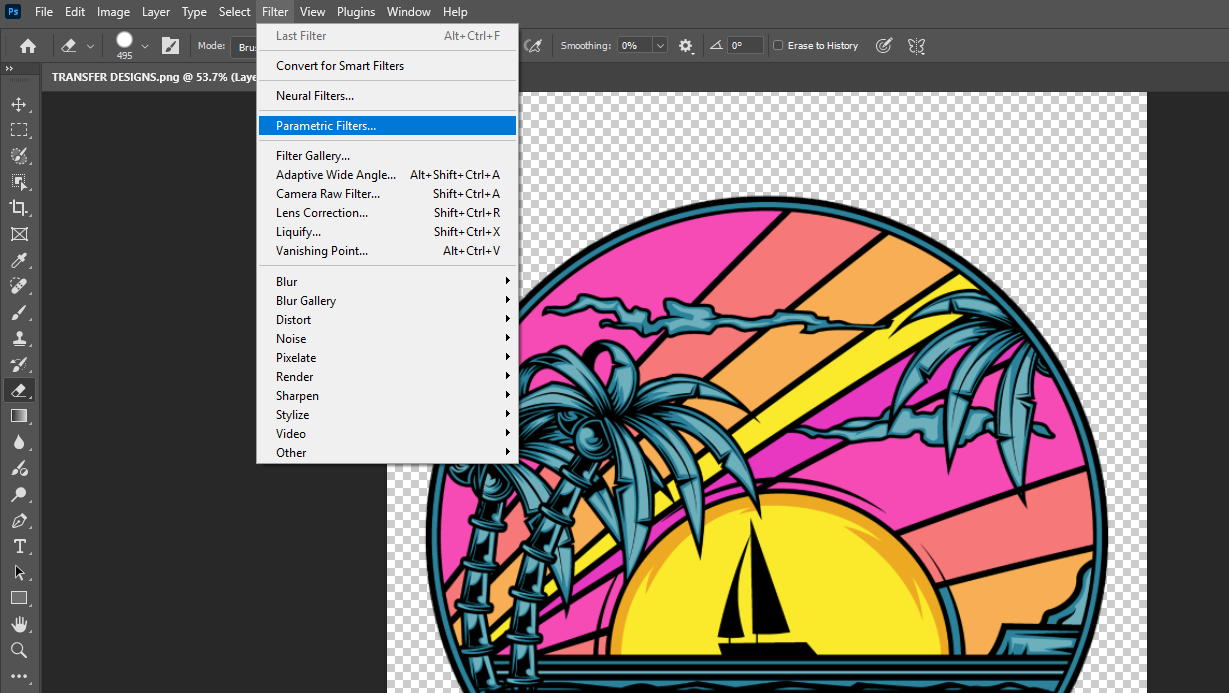
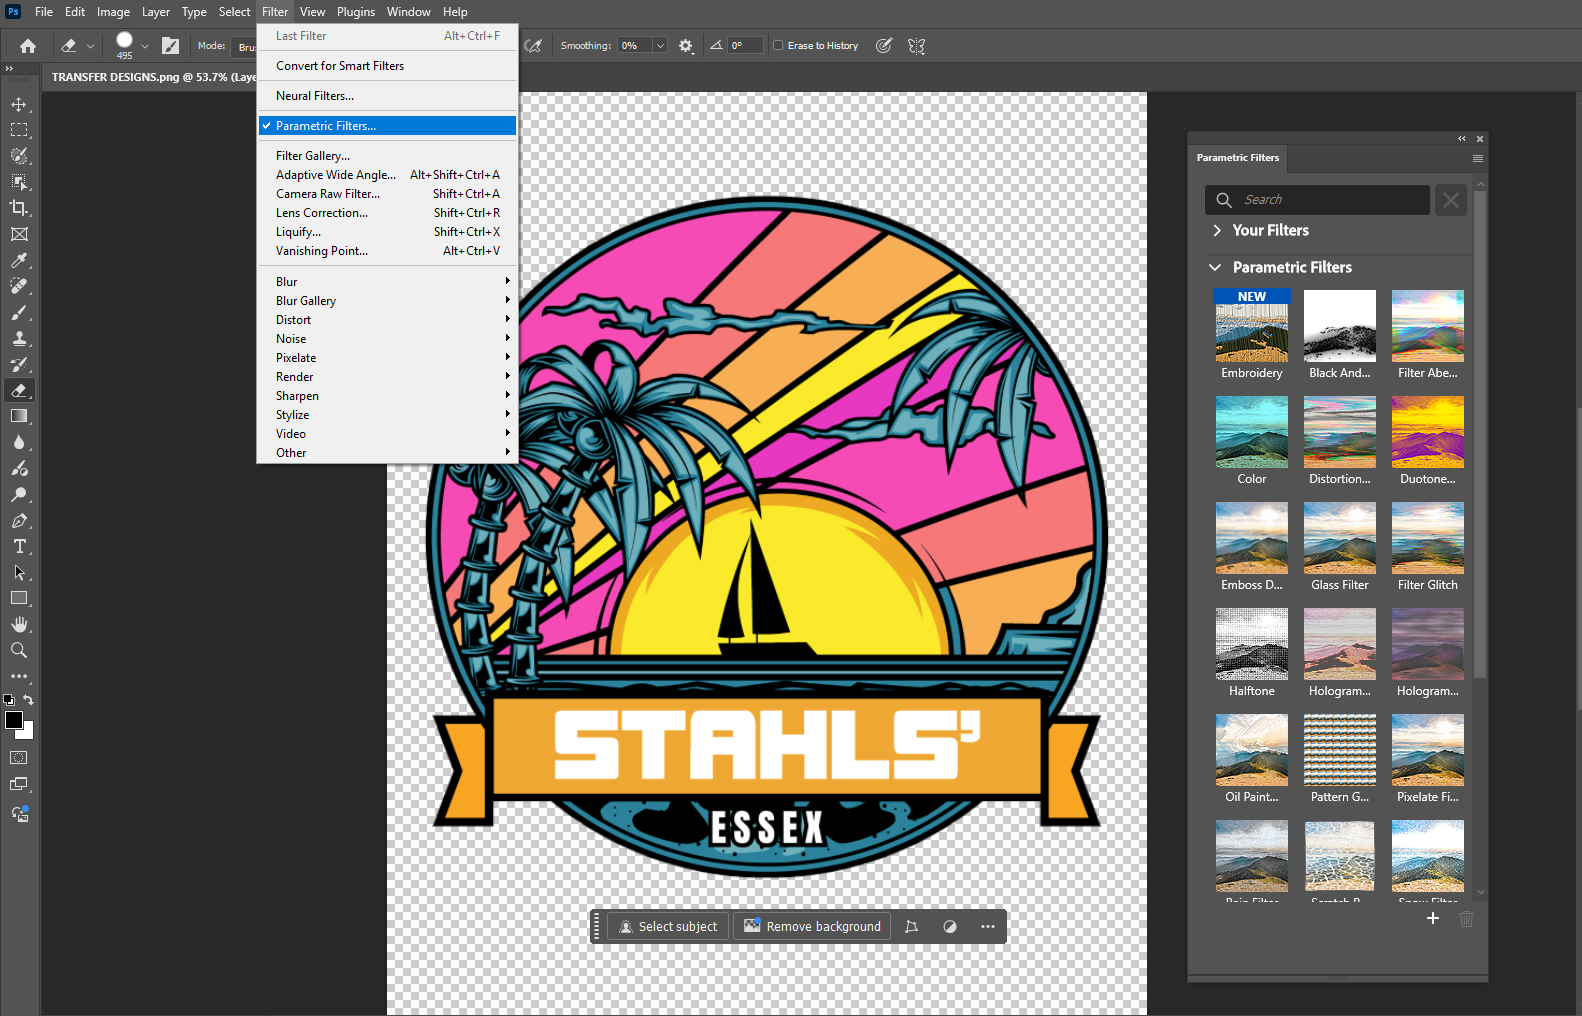
Head to the Filter tab on the navigation bar and select Parametric Filters from the drop-down menu
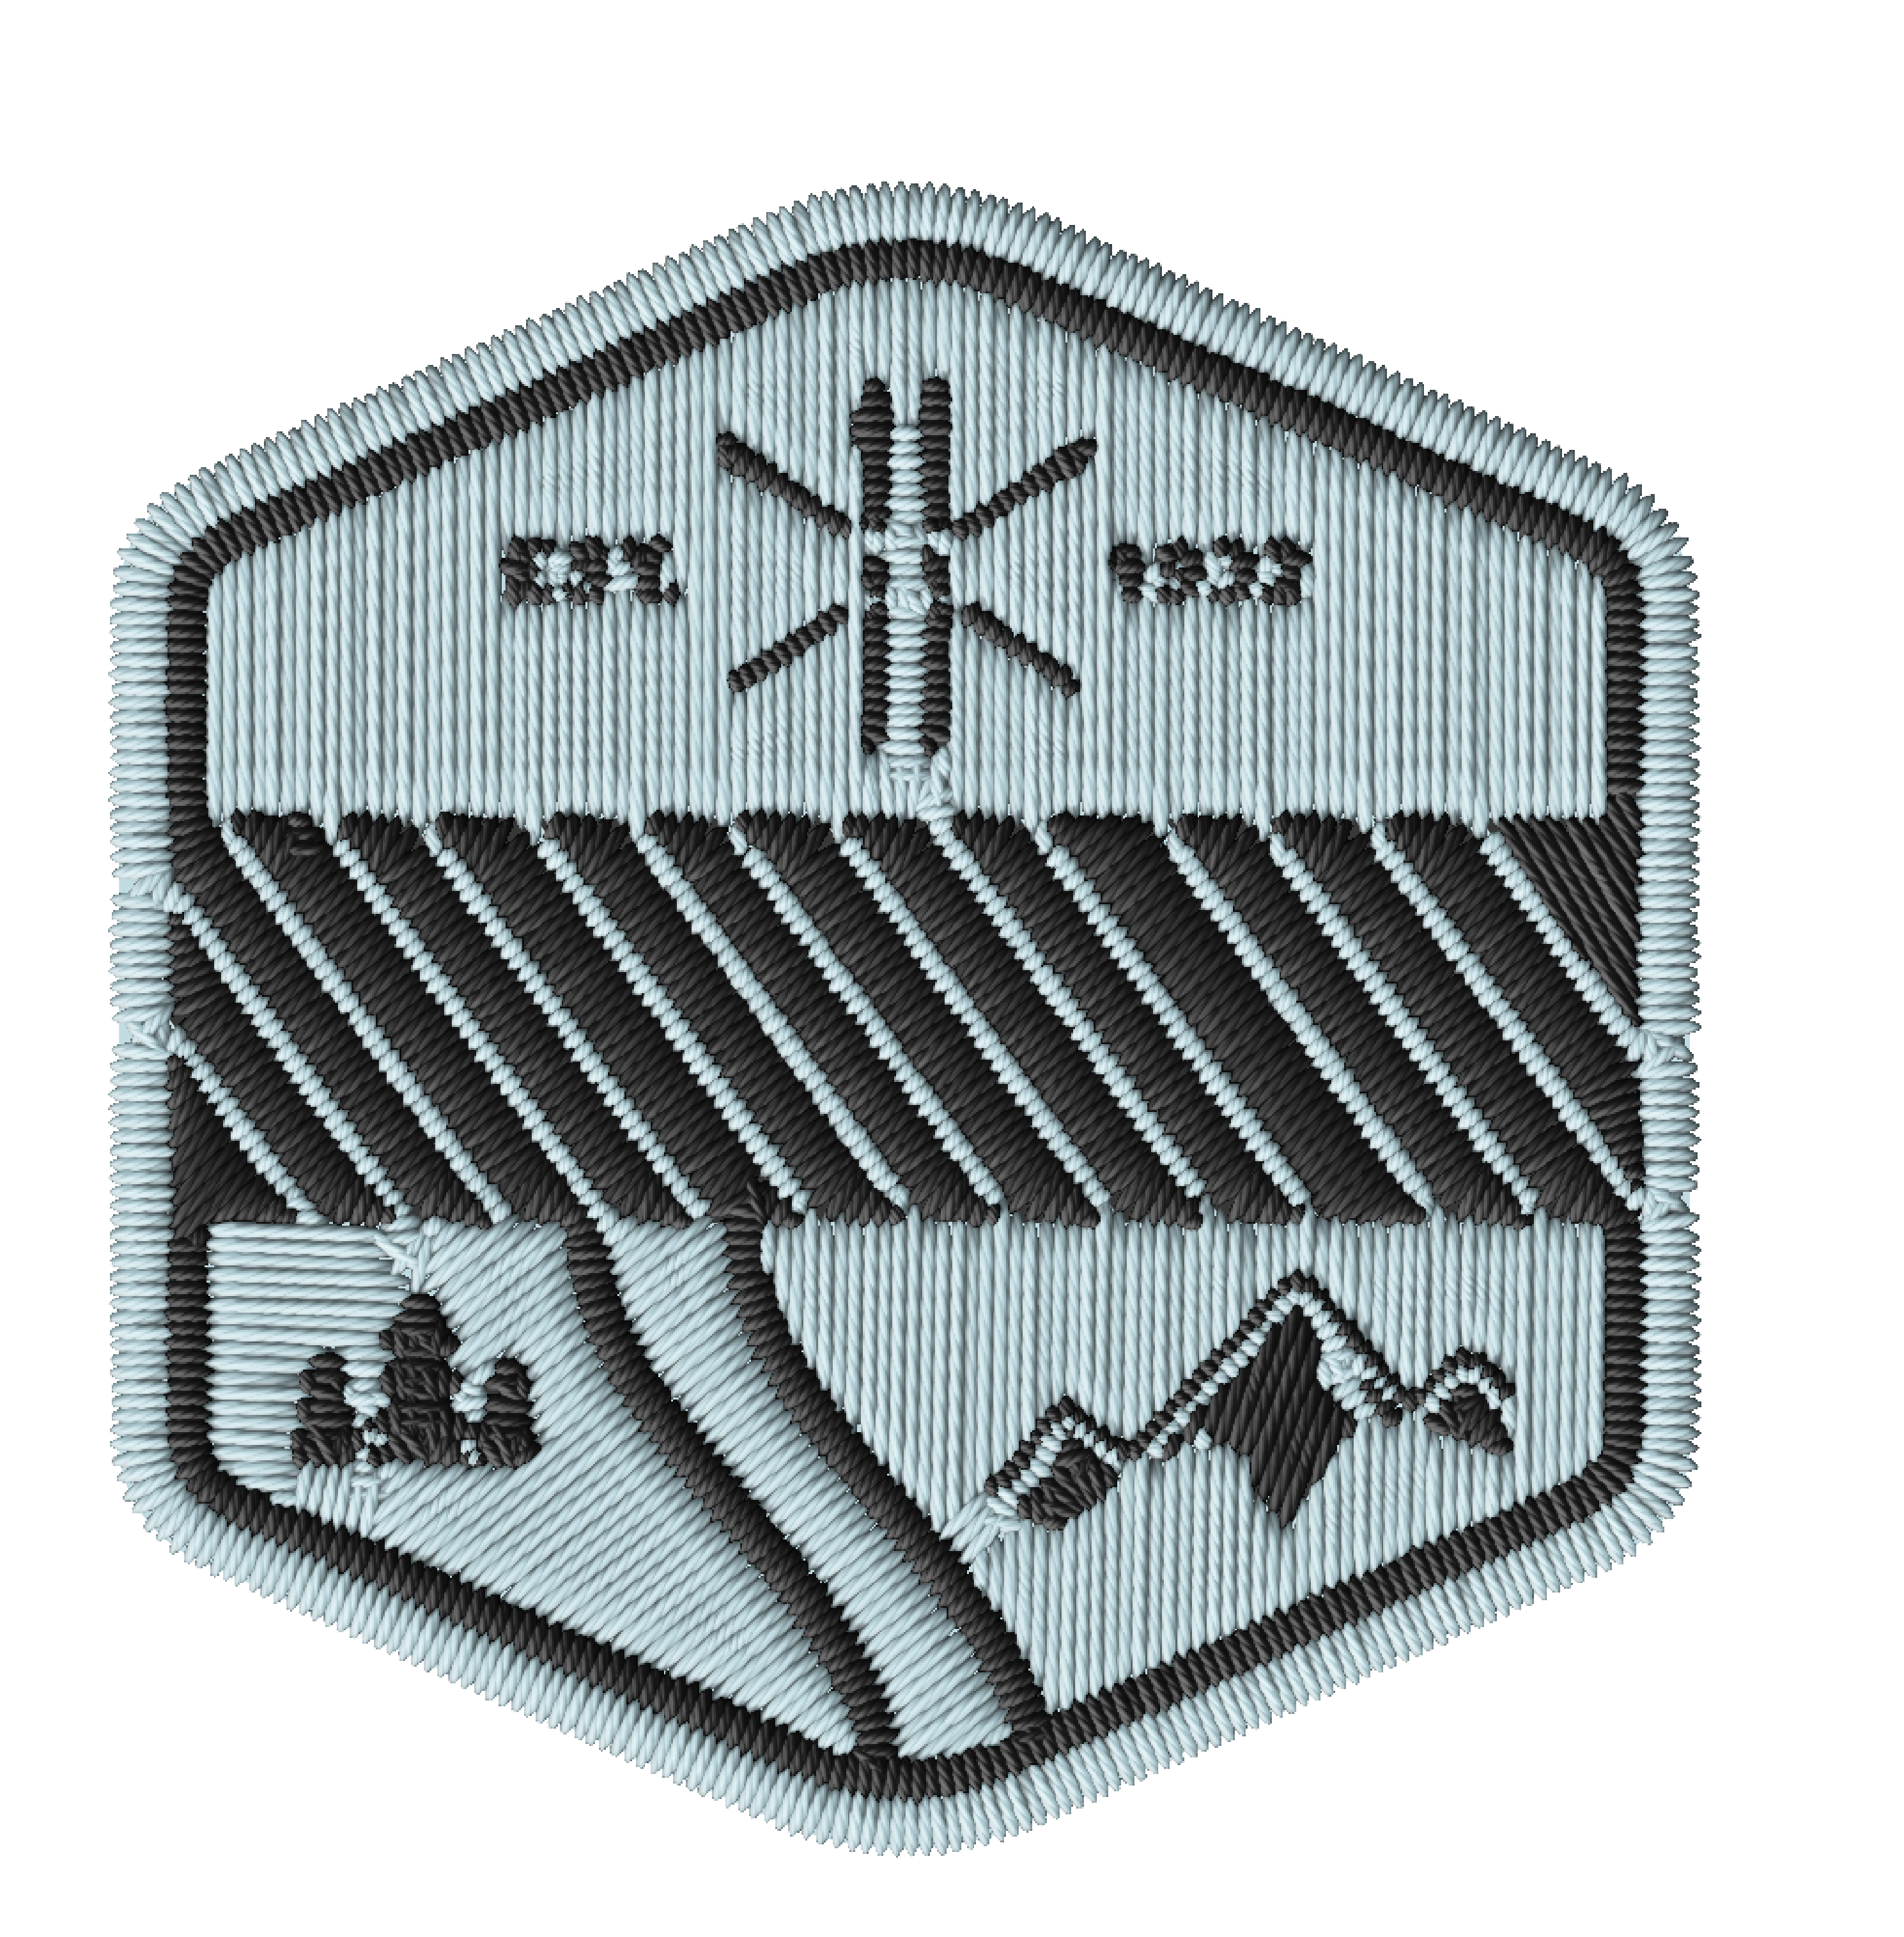
Once clicked, a new menu will appear and the first effect visible on that menu is the option we're using today: Embroidery.
Once you have selected this option, Photoshop will automatically apply this filter in its standard pre-set settings. And to be honest, it does a pretty great job straight off the bat.
Naturally, it's impossible to achieve a flawless embroidery finish as this is a digital graphic but the outcome is pretty convincing. And just in case you're not 100%, the pop-up menu allows you to customise every single part of the filter to achieve your desired effect.
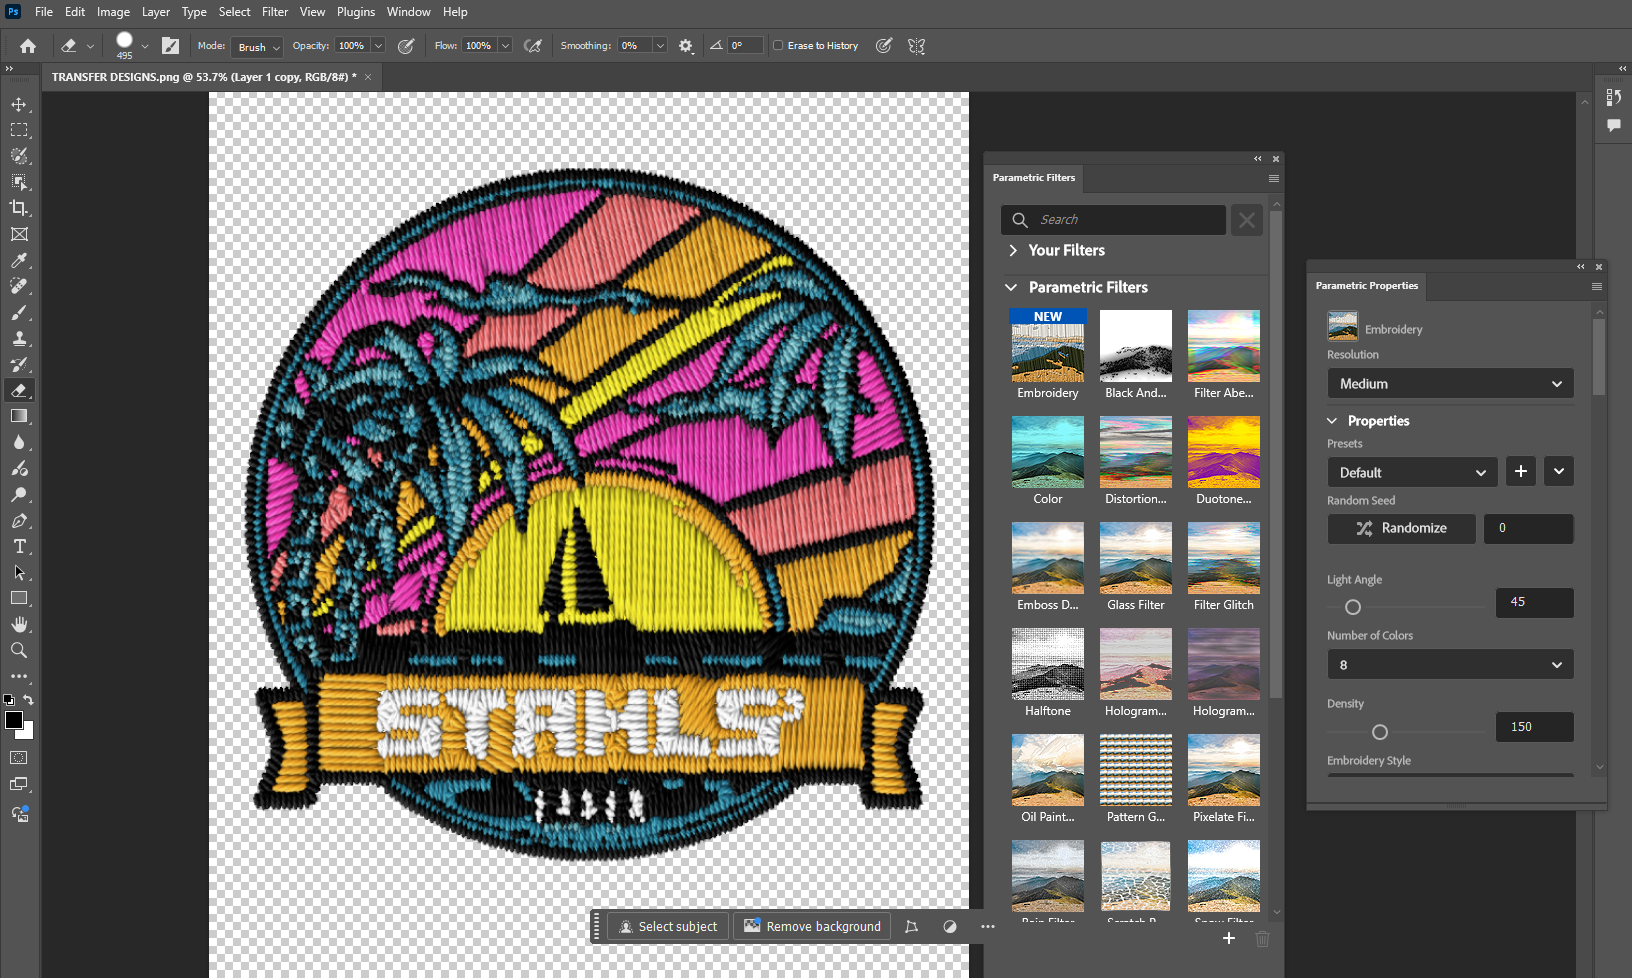
Let's dive into the menu!
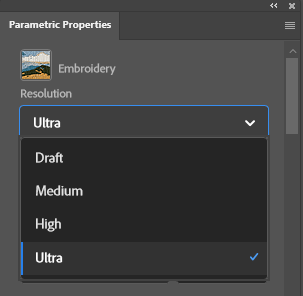
Resolution
First up is the Resolution drop down. This appears to effect the clarity of the faux threads in the design. Draft, Medium, High and Ultra correlate with the level of sharpness you require.
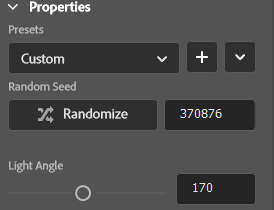
Save Presets
The presets section allows you to save recipes for future edits meaning if you need to repeat a specific combination of settings in the future, as long as you've saved it, you can just click one button to apply them in the future.
Randomise
The Randomize button gives you quick 'random' combinations of settings for different appearances of your embroidered design.
Light Angle
The light angle slider changes the way the false shadow falls on each thread.
Number Of Colours
The number of colours affects how many colour threads are picked up. It auto-detected 8 colours in our design and has processed each colour thread accordingly.
If you change the number in this section, it will re-process using colours from your original design.
Below you will see examples of our design with 4x colours and 2x colours.

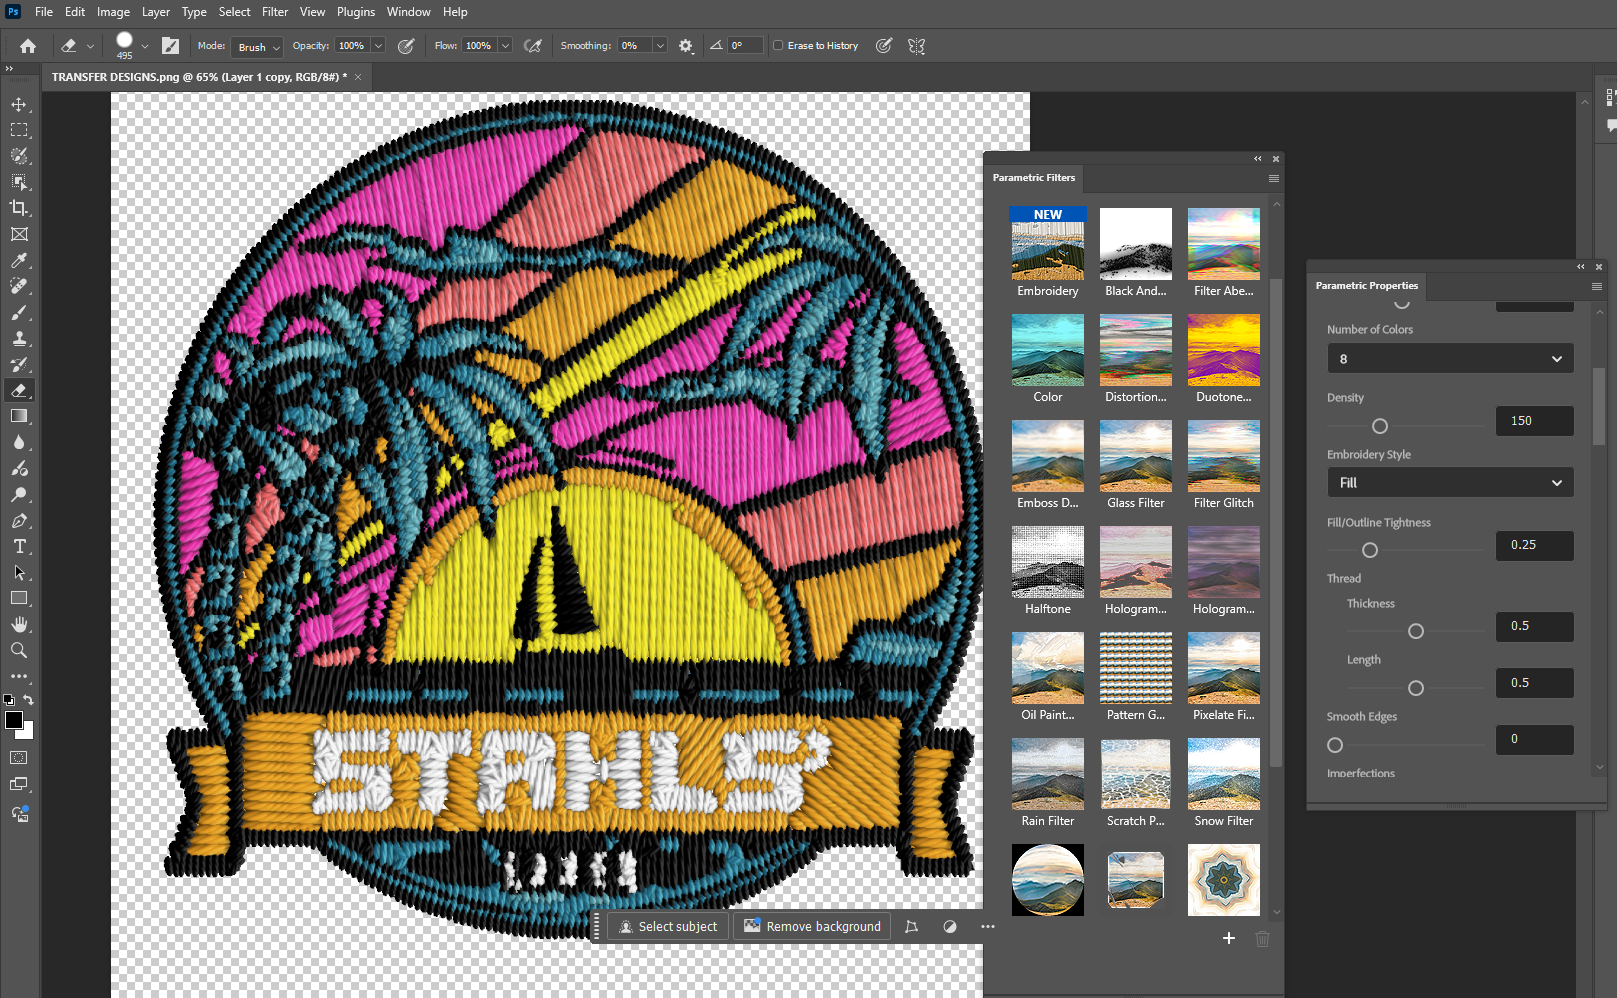
The Menu - Continued
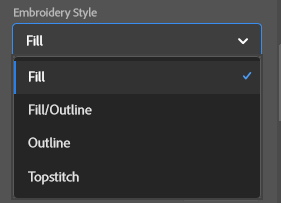
Moving further down the menu, you will see a dropdown menu for the Embroidery Style.
The options in this section will change the way the embroidery appears.
The Topstitch option is particularly effective when working with simple single-colour line designs,
Fill Outline Tightness Slider
This sliding scale affects how many faux stitches are placed in each section of your design. As you can see from the gif, as the slider increases, the amount of stitches becomes a little erratic.
Thread section
In the Thread section, there are two sliding scales.
Thickness affects how thick each individual thread appears.
Length affects how long each individual thread appears.
The rest of the menu:
The menu goes on and on and helps you get into the nitty gritty of your design changing the appearance of each colour of thread.
With all of the amazing control this Photoshop feature offers you over the manipulation of your design, we stand by the original pre-set edit being the best. After hows of tweaking all the options to see what they offer, Photoshop more or less nails it with the first processing of the filter.
As we mentioned earlier, our original design for this tutorial is quite a complicated one. The amount of linework and colour choices complicate the faux stitch significantly. Despite the fact that Photoshop did a great job with its original edits, we wanted to show you just how impressive a simpler design can appear once processed using the Parametric Embroidery Filter.
Below are some examples of logos/badges that have 2-3 colours in them. They have detailed text and line work but because of the simpler design, they look absolutely incredible once processed into a faux embroidery texture.


It's as simple as that.
Once you're happy with the outcome, save your design as a high-resolution png with a transparent background and you can upload this to EasyView to start your journey with heat printing embroidery effect heat transfers.